
In Part 2 of our Beginner’s Guide to the Shopify Store (Part 1 covered some fundamentals for sign up with shopify, select shopify theme, edit store settings, etc) we take a closer look at how to add the Product to your Shopify Store, how to setup payment gateways and setup domain for online store.
5. Add the Product to your Shopify Store:
The product add to your Shopify store is very easy task to perform. There are two ways to add your product to your theme.
1. Manually add the product.
2. Import the product (With the help of CSV file).
First we understood how Manually Product added to the store.
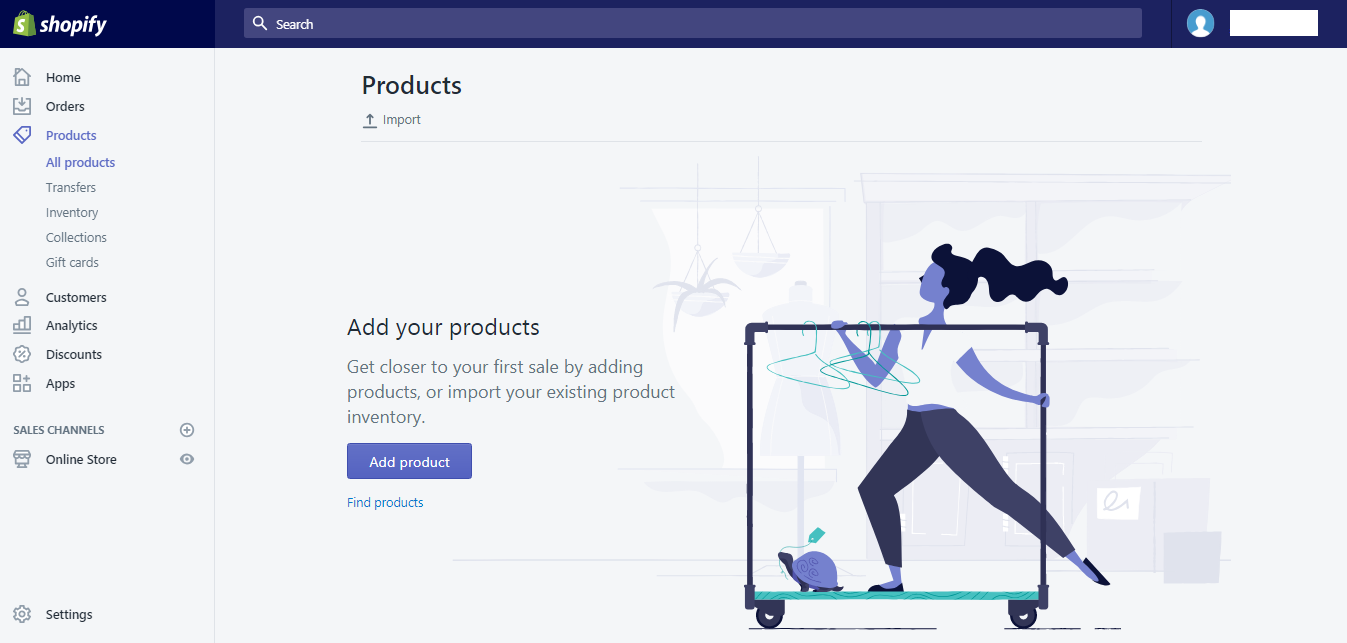
Select PRODUCT from the menu. Here’s you see the Add Product button. By clicking this button we can add manually product. Let’s learn how to add product manually.
Click ADD PRODUCT button, and one window open like below.
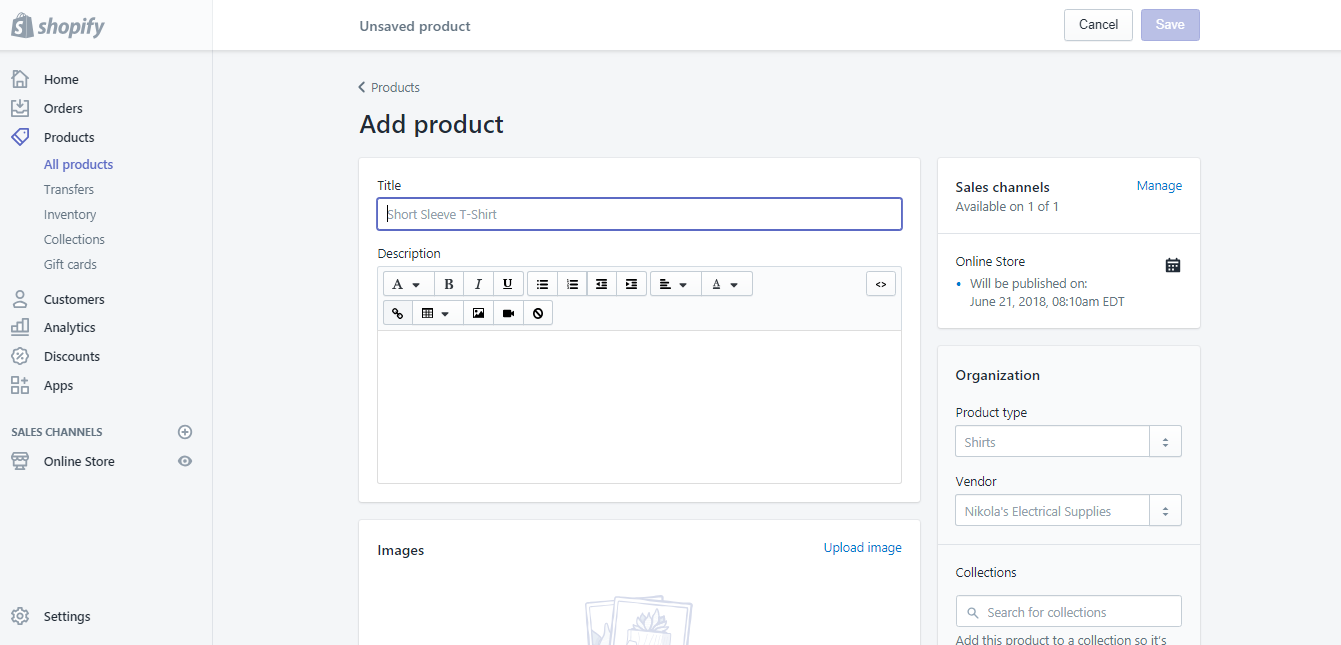
The following things to be add to the Add Product page.
- Title – Add title of the product.
- Description – Add description of the product.
- Image – Add image of the product.
- Pricing – Add Pricing of the Product.
- Inventory – Add Inventory (Stock) of the product.
- Weight – Add the weight of the product.
Also fill the organization value to the product.
- Product type – Add product type.
- Vendor – Add product vendor.
- Tags – Add tags to the product.
Once you filled all the value just click on SAVE PRODUCT button and save your product. These is the manual way to add the product.
Now we see how product can be added by IMPORT PRODUCT.

At the upper side of product page you see the import icon shows above. By clicking on IMPORT button one dialog box open like these
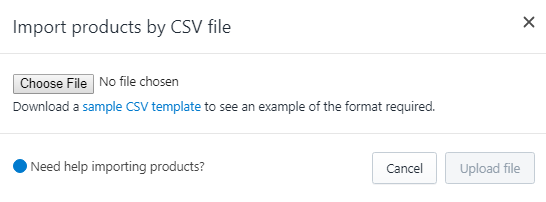
You can import by adding CSV file here. Here we complete the import of the product.
Set Up Collection (Group of Product):
The collection of product add to your Shopify store is very easy task to perform. Follow some basic step to add collection of product to your Shopify store.
Go to your Shopify Dashboard and at left navigation menu select the PRODUCT button.
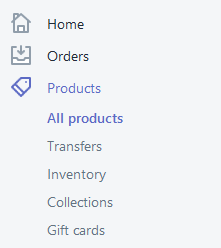
When you select PRODUCT button, the sub menu of product is open.
Then click on Collection button to add collection of product to your Shopify store. Below screen will appeared.
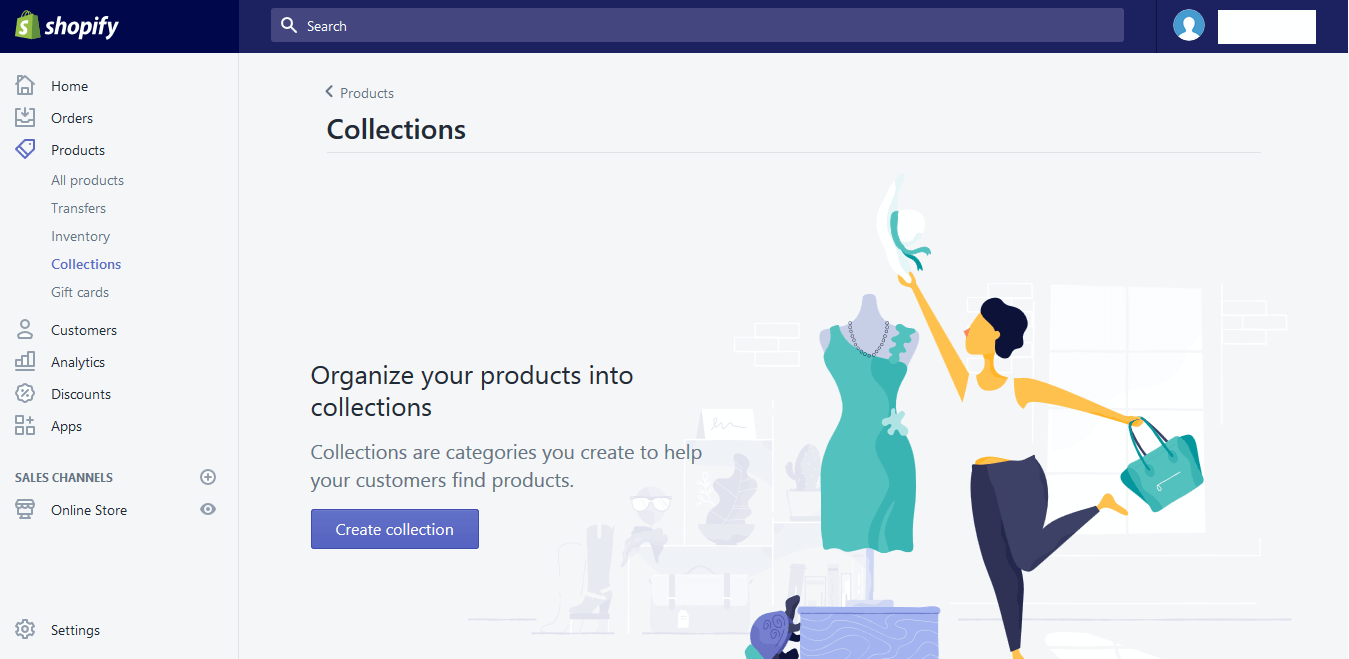
Then click on Create Collection button. You will see below screen.
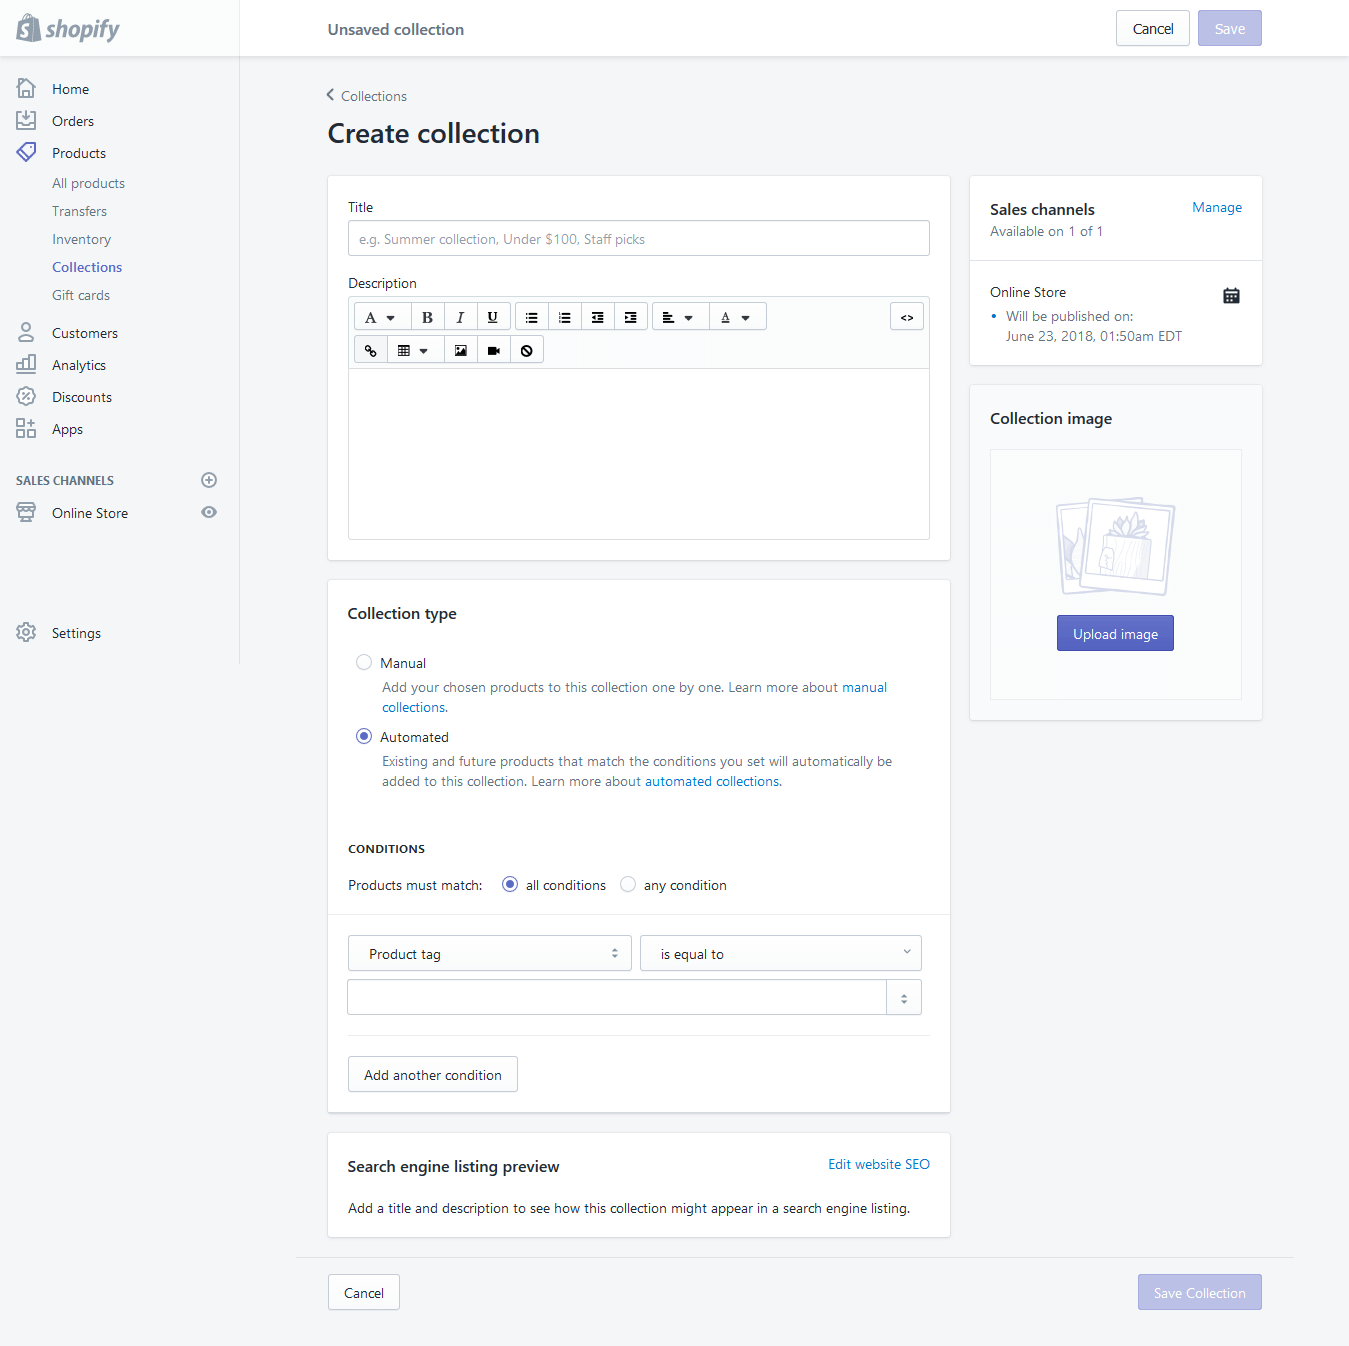
Fill the details and then click on Save Collection button.
Manual and automatic collections:
When you add a new collection, you can select how products should be added to it. These are the two options:
- Manually - You add and remove products in a manual collection individually.
- Automatically - You can set up selection conditions to automatically include products that meet certain criteria.
Here’s we successfully complete 5th step of creating your online Shopify store.
6. Payment Gateways:
Here’s we learn how to set Payment Gateways. A payment gateway allows you to take payment from your customers via your website.
The price and commission rate is important, but it’s also important to see what features they offer. Follow the below few step to setting the Payment Gateway to your Shopify Store.
Go to the dashboard of your Shopify Store. Then click on SETTINGS button. You will show below screen.
When you click on Settings the below screen will open.
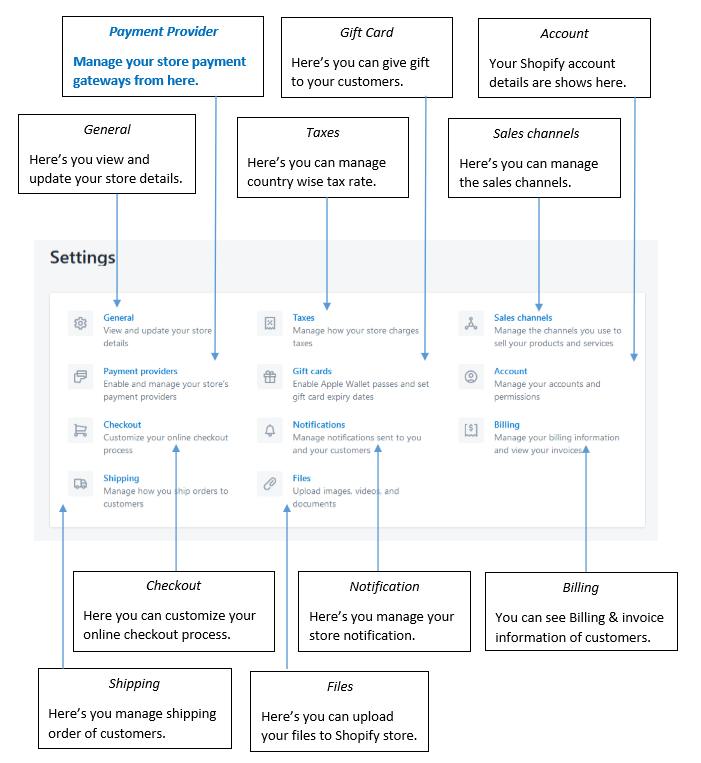
Payment Provider:
Here’s we learn how you manage your payment provider. You will see below screen when you click on PAYMENT PROVIDER button.
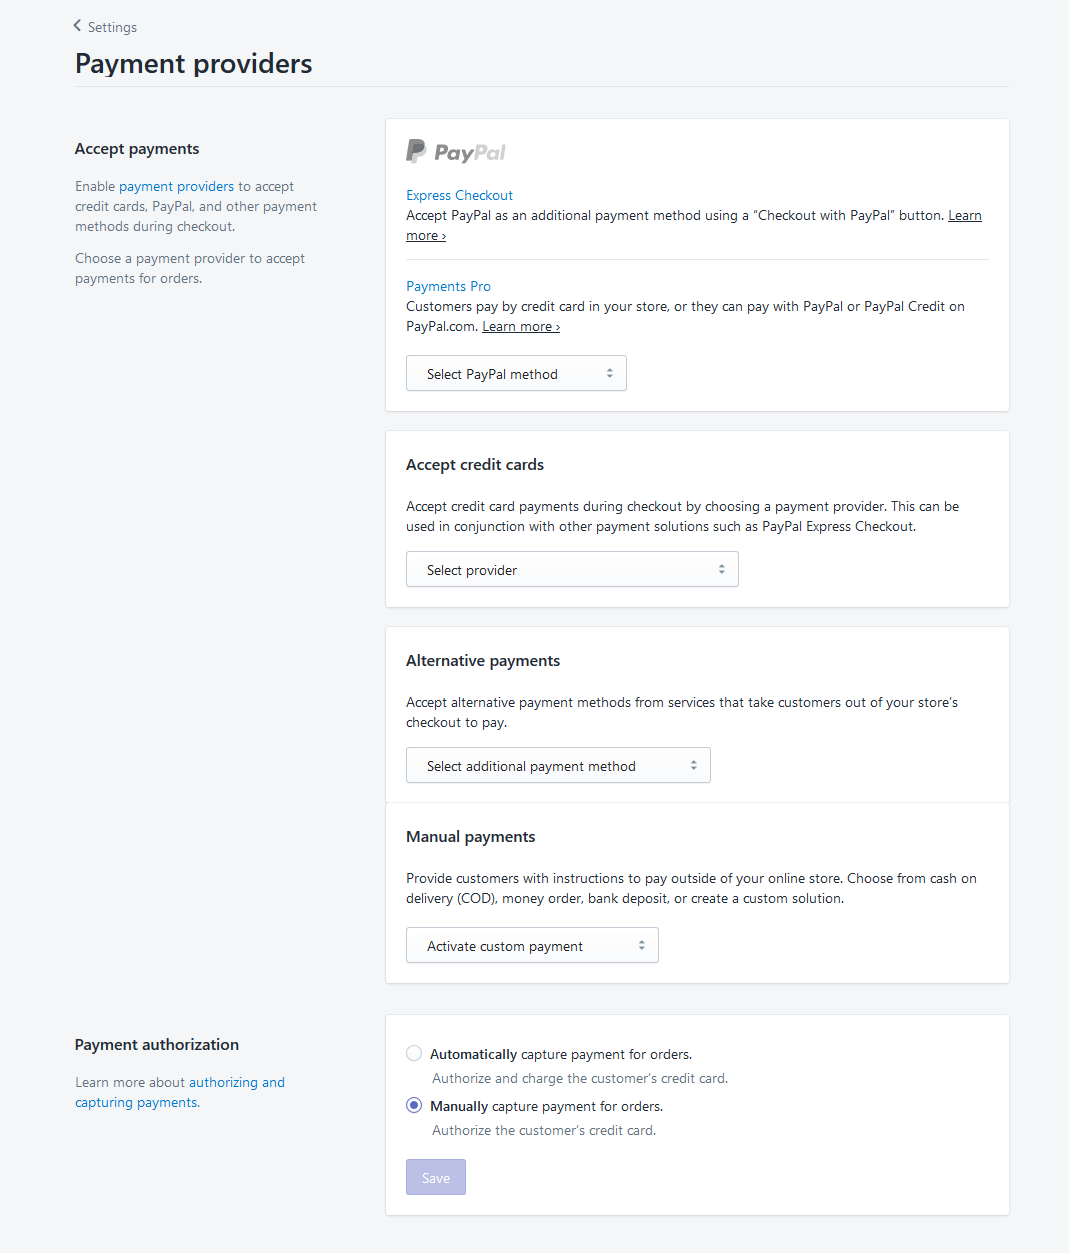
Here you can choose how payment will accept from your customers.
Shopify offered wide a range of collecting payment from your customers.
– Different Payment method for customers.
– PayPal
– Credit Cards
– Alternative Payments
– Manual Payment
Fill all the details and secure your Payment Gateway.
7. General Setting:
Here’s we learn how edits your Shopify store general settings and your order system.
General Settings:
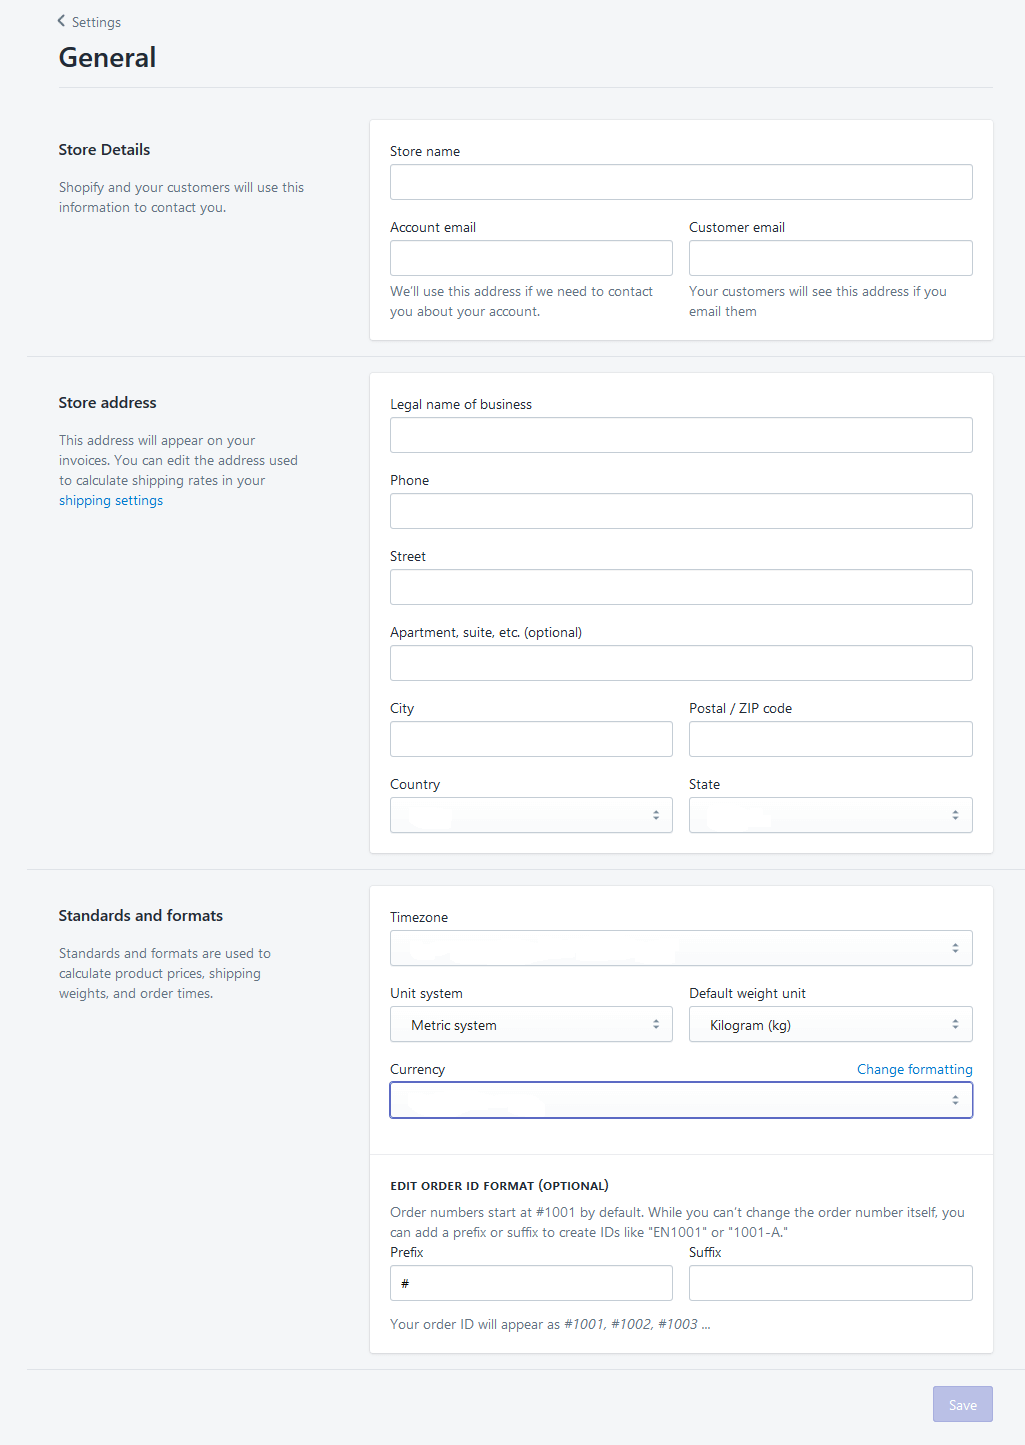
Here you can your Shopify store details such as
- Store Details:-You can add your Shopify store details here.
- Store Address:-You can add your Shopify store address here. Shopify will consider this address as Shipping address.
- Standard and formats:You can add your standard and format such as-Time zone
-Unit system
-Currency
-Order id format
So this is a general setting for your Shopify store.
Taxes:
You can add the tax format that applied in your country. Just go to settings and select TAXES buttons. Below screen will appeared.
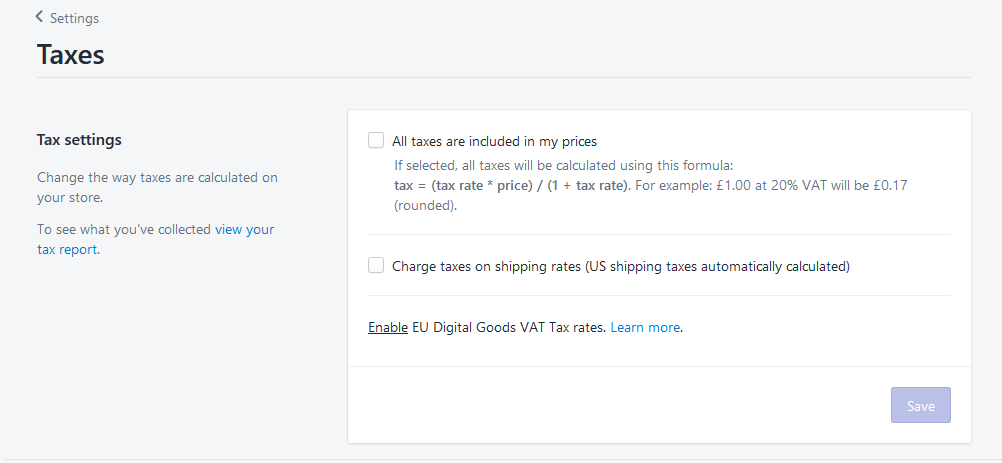
Some stores won’t need to charge taxes or shipping on products like digital goods. On the other hand, a T-shirt store will likely need to charge both.
So you can change this settings from here.
Shipping:
For your Shopify store you can change the shipping charges and its address from here. You can apply the standard rate for shipping the product directly form here.
For changing the shipping address and charges go to SETTING and then click on SHIPPING buttons. Below screen will appeared.
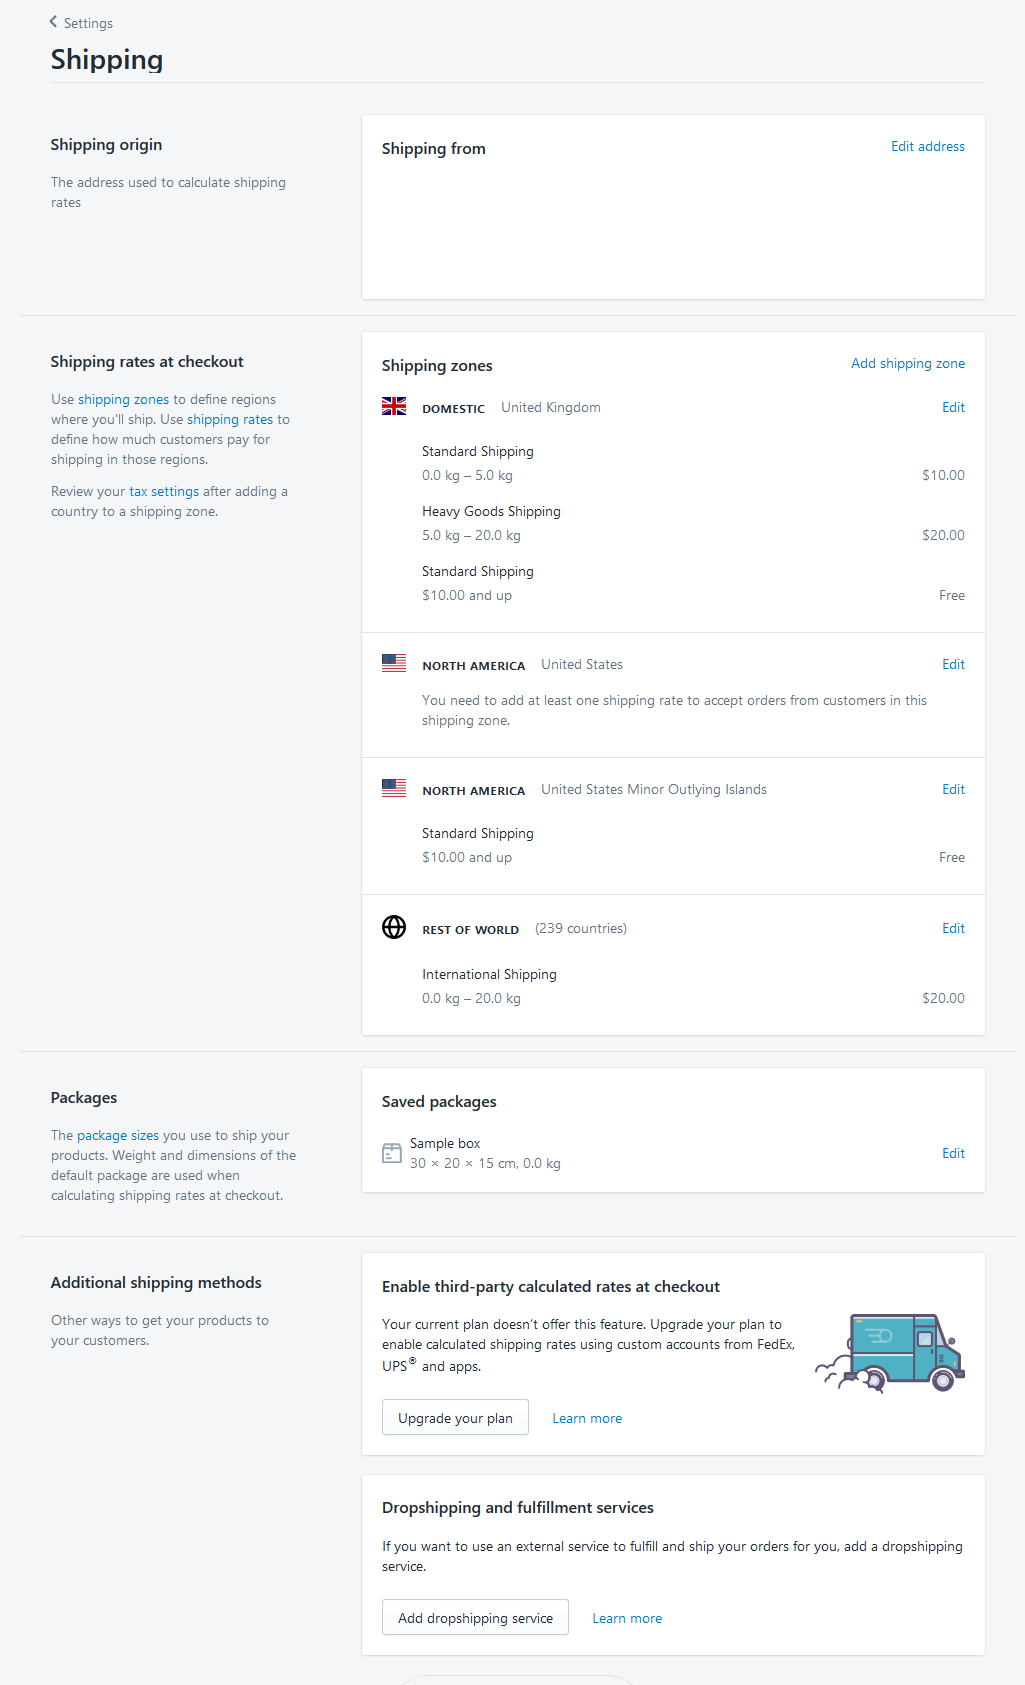
Here you can add your shipping location and shipping address for your Shopify store. In the “Shipping rates” section, see if you have set a weight-based shipping rate and adjust it according to your product’s specifications.
8. Make your Shopify Store Live:
To make your store live follow the basic steps.
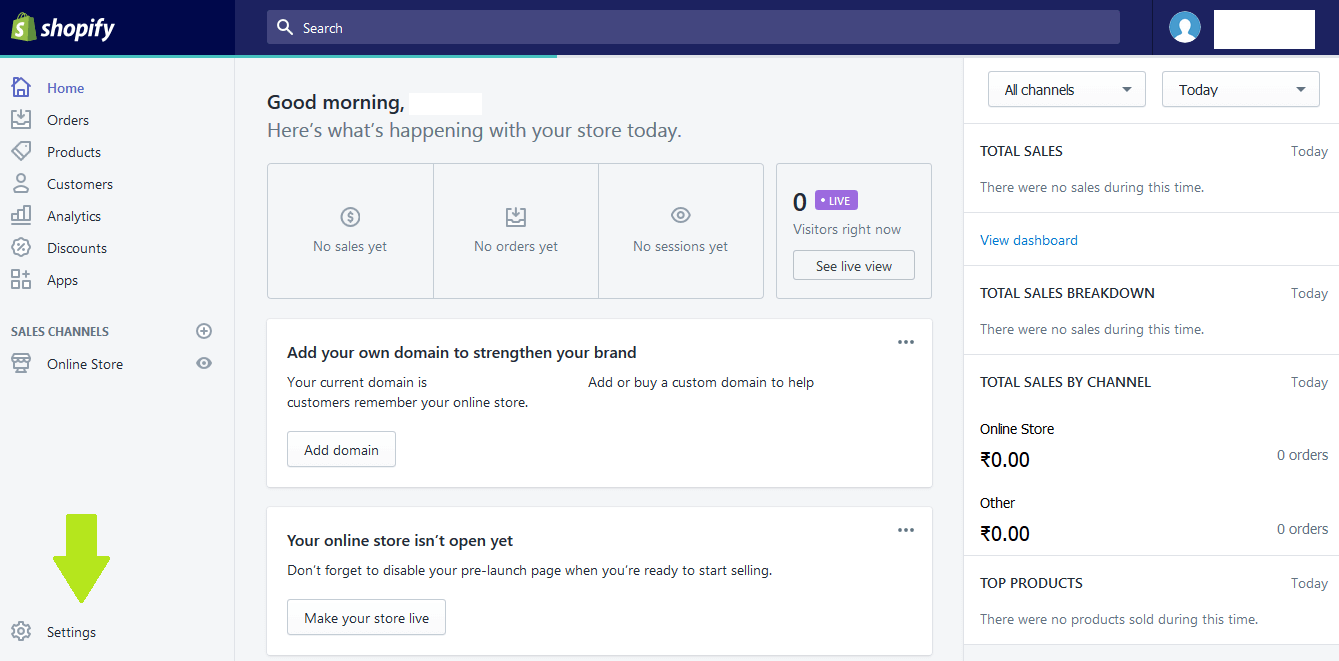
Go to your Shopify Admin Dashboard. Then click on HOME button placed on left navigation menu. You will see the below screen.
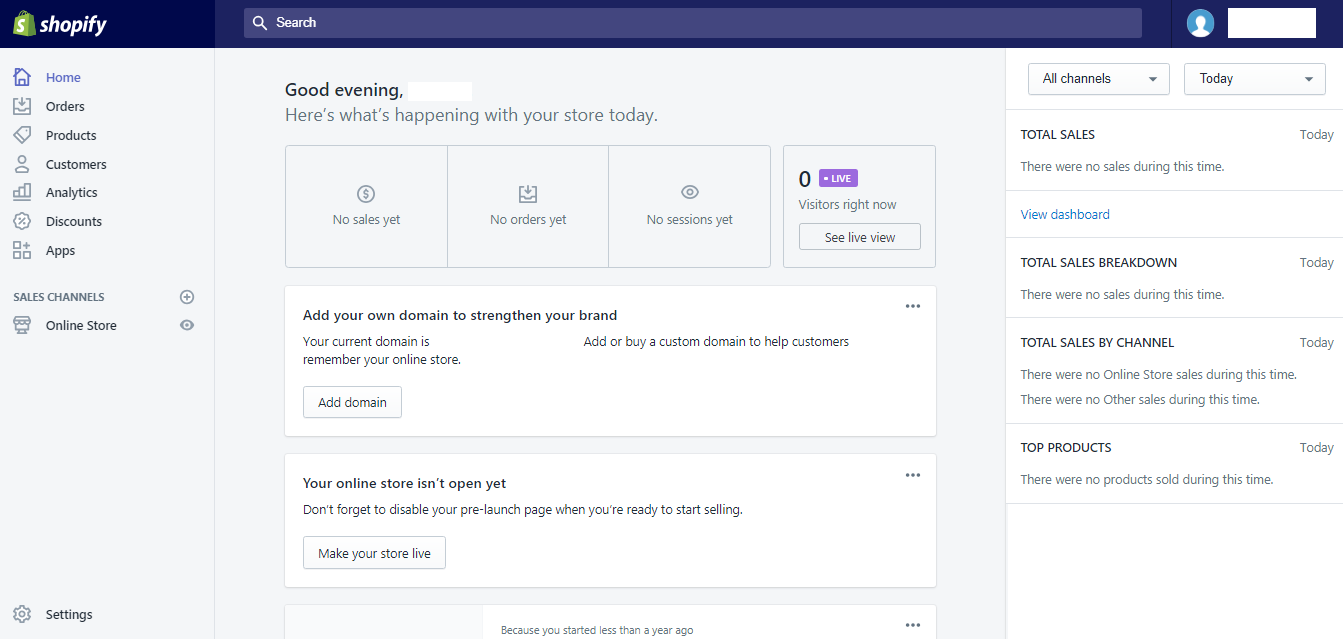
Click on the button of MAKE YOUR STORE LIVE. Just click on these button and make store live to your valuable customers.
9. Setting up your Shopify Domain:
To get your Shopify store live you’ll need a domain name. You have two choices.
- You can buy a Domain from Shopify. OR
- Set up Existing Domain
Now we learn how to buy Domain from Shopify. Follow few steps to buy a Domain from Shopify.
-Go to your Shopify Dashboard.
-At left navigation menu click on ONLINE STORE button. You will see below screen.
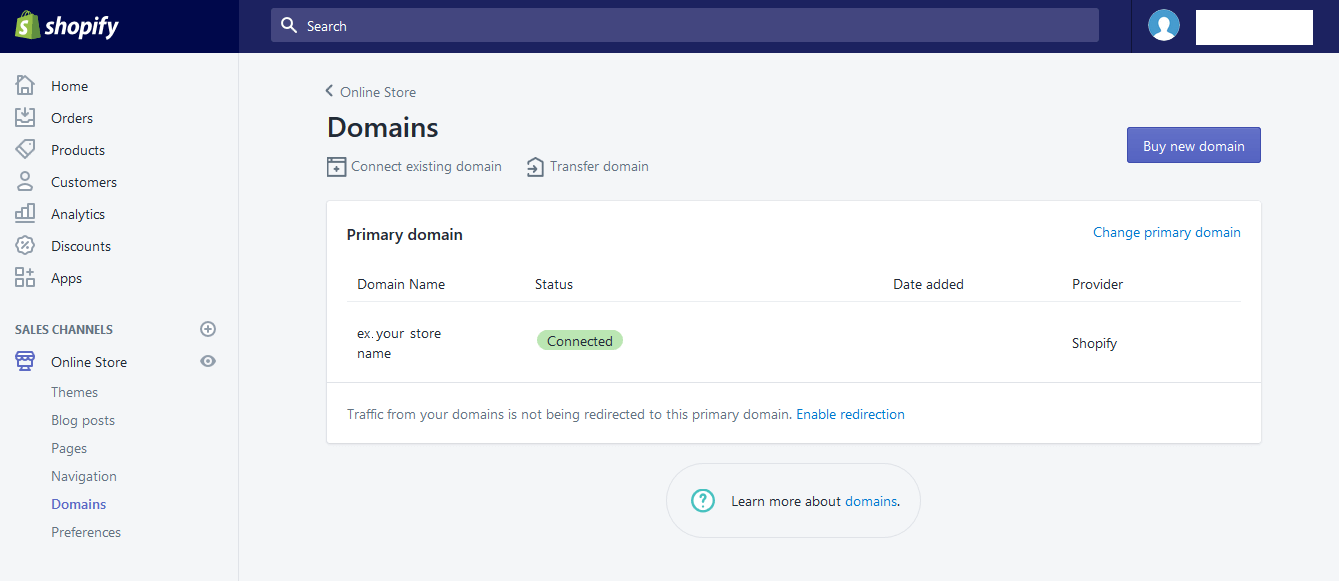
Your primary Domain shows here. You can buy a new Domain form
Shopify. Just click on button. When you click on this button the below screen will open.
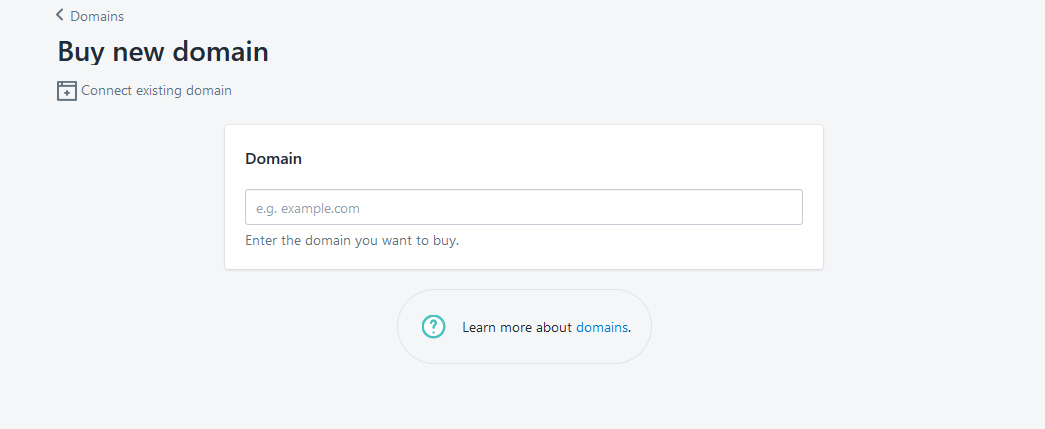
Here you buy a new domain. Search the domain name that you want and buy it. Shopify will added this domain automatically to your store. This save your time.
Set up existing Domain:
Now we learn how to set up existing Domain to your Shopify store.
If you have purchased your domain through a third party such as Go Daddy, then you need to perform and edit the following DNS settings:
- Your A record should point to Shopify’s IP address, which is 23.227.38.32
- Your CNAME record should point to shops.myshopify.com.
Follow the complete process to set up an existing domain to your Shopify store.
- Log in to the account you have with your domain provider.
- Find your DNS settings. Look for your domain management area, DNS configuration, or similar.
- Edit your A record to point to Shopify’s IP address 23.227.38.32
- The domain settings panel might feature drop-downs or editable fields, or you might have to check boxes or edit a table. You need to:
– enter or choose the @ symbol, or A record
-Enter Shopify’s IP address 23.227.38.32 as the destination for the A record.
- Save the A Record (click Save, Save Zone File, Add Record, or similar).
- Find the CNAME record in your DNS settings.
- Change your www CNAME record to point to shops.myshopify.comCopy. Often, you need to provide just the prefix without the dot, but for some domain providers you need the whole subdomain. Use the existing entries as a guide, or follow your provider’s instructions. CNAME records must always point to a domain name, never to an IP address.
- Save the CNAME Record (usually by clicking Save or Add record or similar).
Conclusion:
In this article, you can have a great looking, unique Shopify store in less than half an hour without having expertise. This way you can spend more time to marketing your Shopify store.

Write an article about ecommerce that help people to grow their ecommerce business. You’ll find best ecommerce guide, news, tips & more!


Leave a Reply