Getting Started
Welcome to Google CSE Integration Magento 2 Extension! We would like to thank you for purchasing Google CSE Integration Magento 2 Extension! We are very pleased you have chosen Google CSE Integration Magento 2 Extension for your website, you will be never disappointed! Before you get started, please be sure to always check out this documentation.
Compatible with Magento:
Magento 2.1.x
Magento 2 Help:
Introduction
Replace the default Magento search functionality with custom search engine powered by Google.
Boost conversion with the integration of best custom search engine powered by Google. Google has long been providing the facility for webmaster to integrate site-specific Google search engine into their websites, including the ones based on eCommerce platforms like Magento. This search engine can be configured to return search results only from one or more websites. Therefore it acts like a personal website search engine powered by Google.
Features
Key Features
- Enabling visitors to search your specific website
- Shoppers using search are on average 4X more likely to buy
- Great Search can boost conversion by 30-150% over average search
- Autocomplete feature - which makes querying even faster
- Enable/disable web and image search
- Absolutely no configurations required
- Customize the look and feel of the search box as well as search results
- CSE is available in a number of layouts
- No development work required
- See how your visitor conversion and user experience improves!
Magento 2 Installation
To install the Magento 2 follow the instructions below:
1. Create an empty database with correct permissions in phpmyadmin.
2. Enter your Magento 2 url in browser and hit Enter.

3. Click on "Agree and Setup Magento".

4. Now Magento 2 will check your environment for readiness for the setup. Click on "Start readiness check".

4.1. If you pass all the checks, you can continue. Have you not, you must fix the error to continue. The 2 most often errors are php Settings Check and php Extensions Check.

PHP Settings Check: always_populate_raw_post_data error. To resolve this error, you need to access php.ini file. Using XAMPP, open this file like that: PHP Settings Check: Search this line: always_populate_raw_post_data = -1 Make sure the number is -1, then remove the semicolon ; at the beginning of the lines.
PHP Extensions Check: The usual missing extensions are xsl and intl. To resolve this, search extension=php_intl.dll as well as extension=php_xsl.dll, then both remove the beginning semicolon ;.
Please Note:
Now you need to stop both Apache and MySQL in XAMPP, then restart them again for new effects to be activated and resolved. Click Try Again in localhost for new result, after checking, hit Next.
5. Now enter Empty database that you created previously, where you want to install Magento2.

6. Click Next, now you will be asked for web configurations like store url, admin url, Apache rewrites, https options.
7. Click Next, now you can select Timezone, Currency and language in "Customize Your Store" section.

8. Click Next, Enter Admin username, email and password to setup Admin credentials.

9. Now Magento 2 is ready to be installed on localhost. Click on "Install Now". Don’t close your browser until setup is done.


10. After the installer has completed the setup, it will show Success page.

10. Open Magento Admin panel, enter your admin credentials given at the time of setup.

Extension Installation
To install the extension follow the instructions below:
Prepare InstallationWe recommend you to duplicate your live store on a development store and try installation on it in advance.
Backup Magento files and the store database.
Disable all cache related section that you have in your Magento.
Extension Installation1. Download extension package(hiddentechies-customsearch.zip) from your my account page
2. In your Magento 2 root directory create (if not exist) folder app/code/
3. Make new directory Hiddentechies/Customsearch inside app/code
4. Copy(upload) files and folders from extension archive to your Magento 2 app/code/Hiddentechies/Customsearch/ directory
5. In command line, using "cd", navigate to your Magento 2 root directory
6. Run below commands
- php bin/magento setup:upgrade
- php bin/magento setup:static-content:deploy -f
7. Flush store cache and log out from the backend and log in again to see changes.
8. Your extension is now installed and ready for work.
Settings Panel
Google Custom Search extension is installed, proceed to Magento 2 backend to finalize the cofiguration.
To set the configuration options go to Google Custom Search > Configuration.
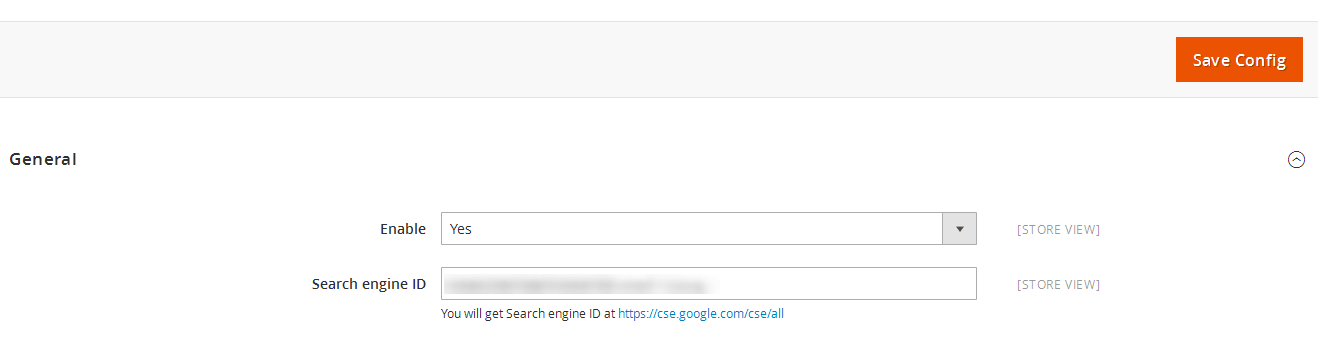
These are the settings that affect google custom search accessibility, control layout and other functional aspects.
- Enable: Enable or Disable custom search functionality
- Search engine ID: Enter your google search engine ID You will get Search engine ID at https://cse.google.com/cse/all
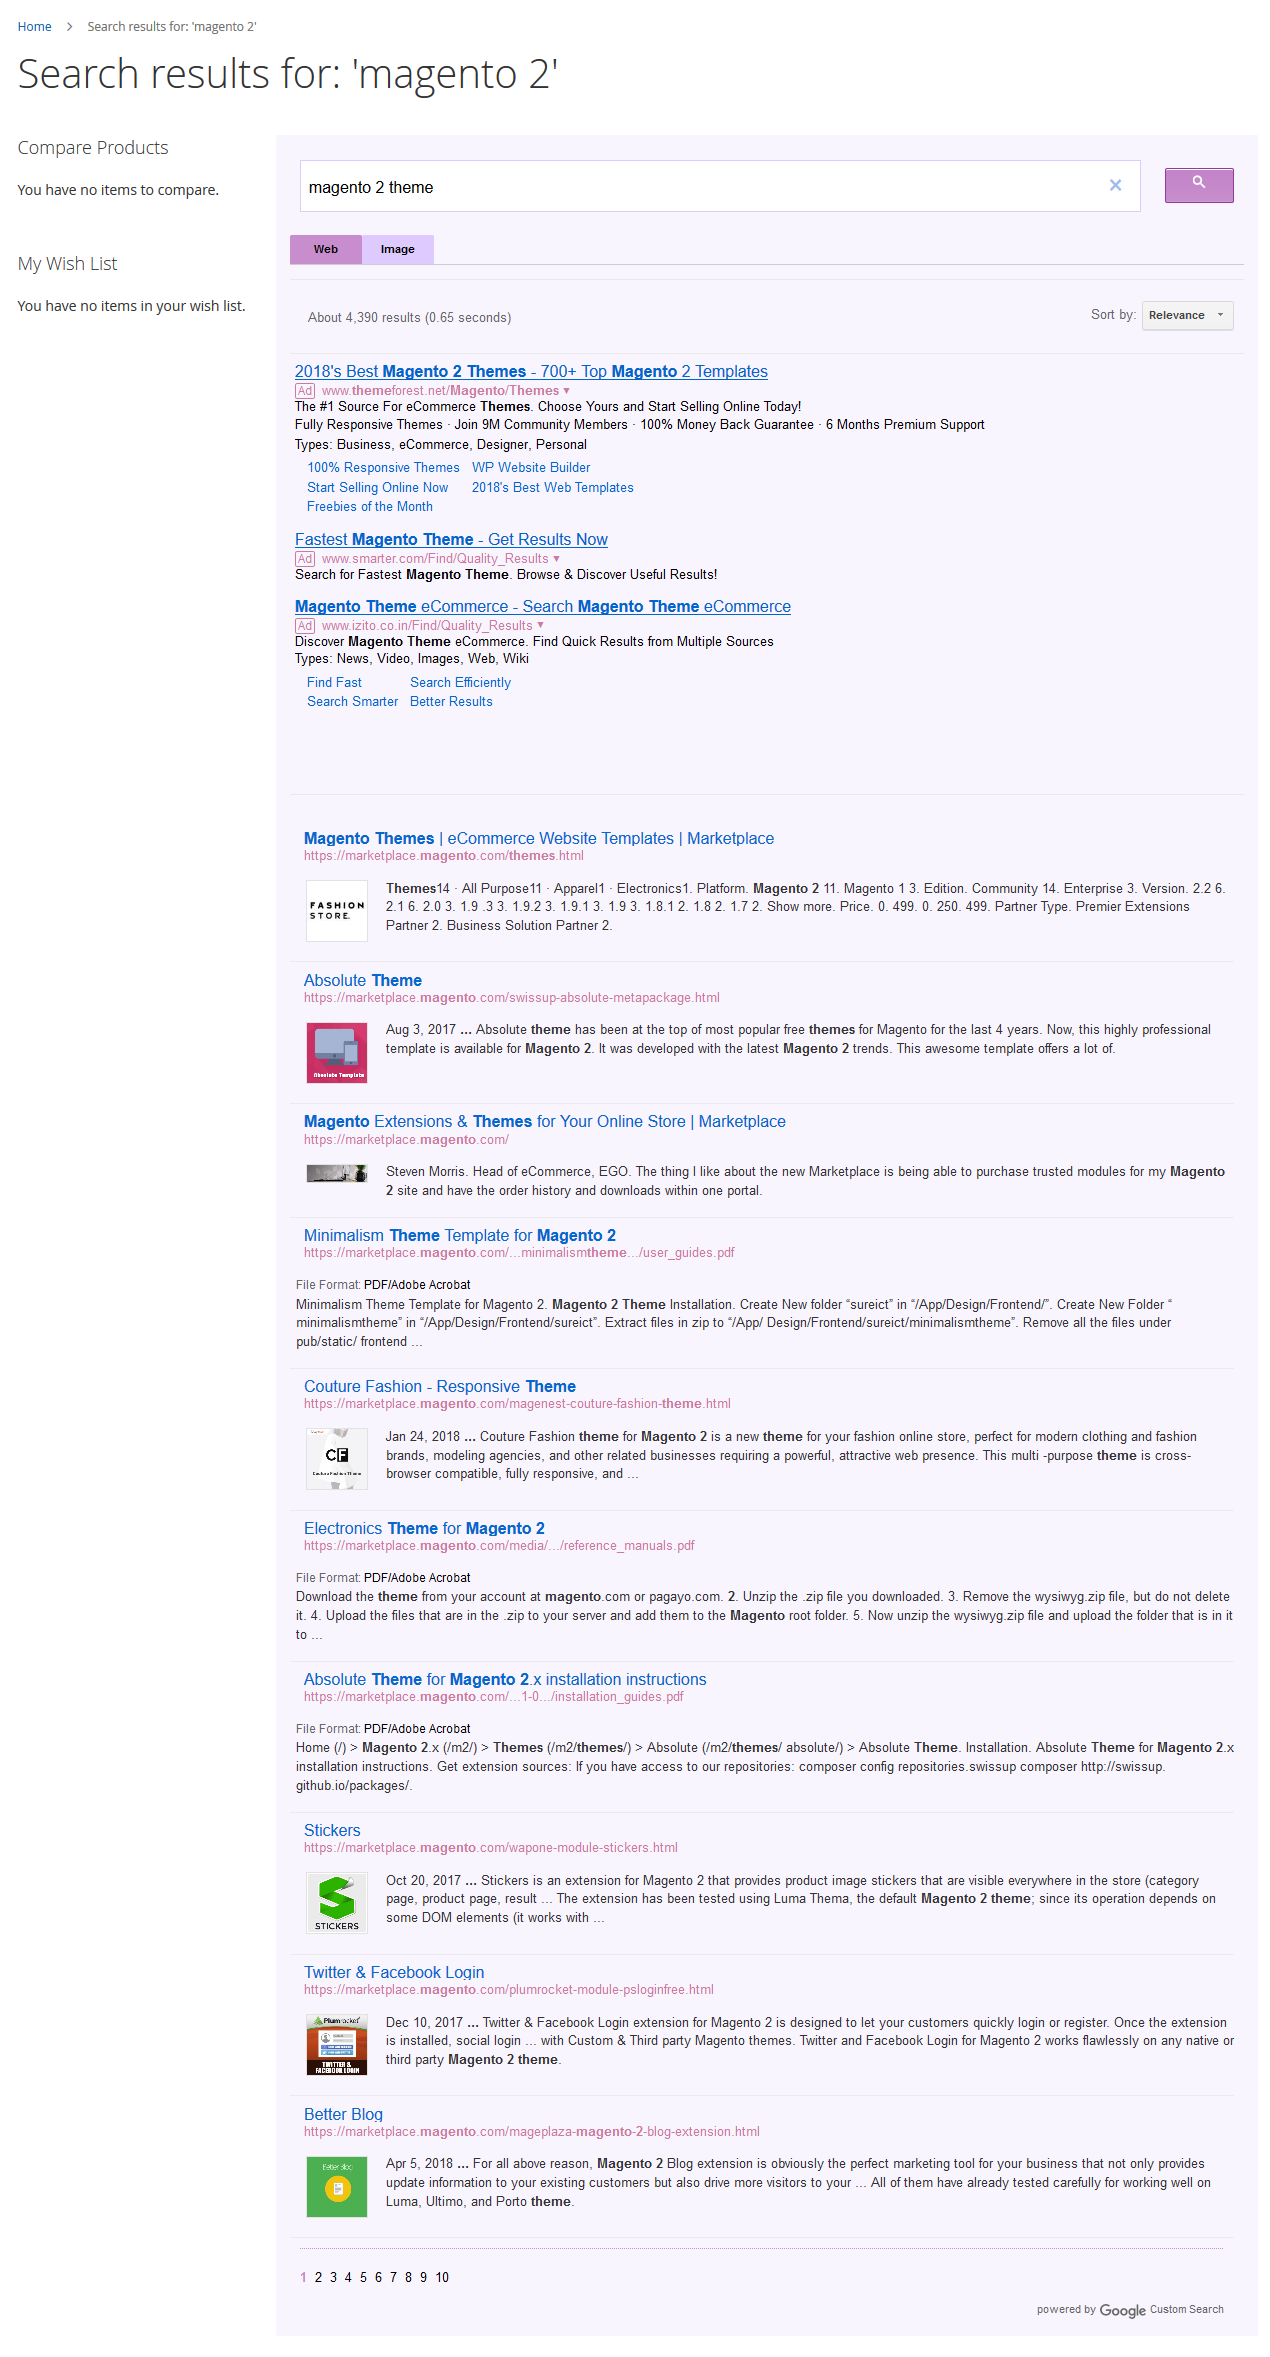
Search Result Screen 1
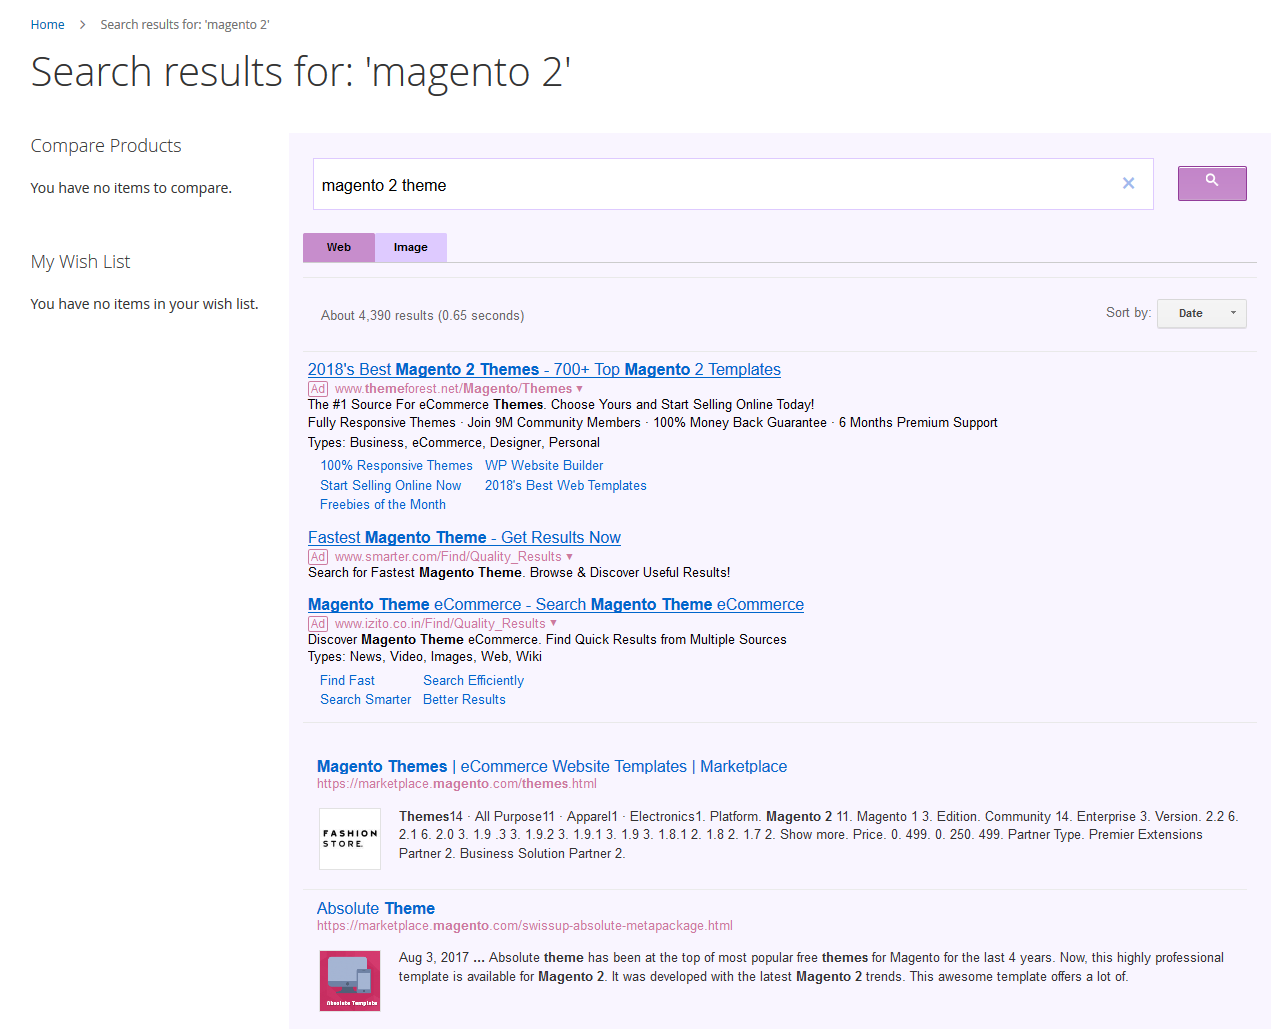
Search Result Screen 2
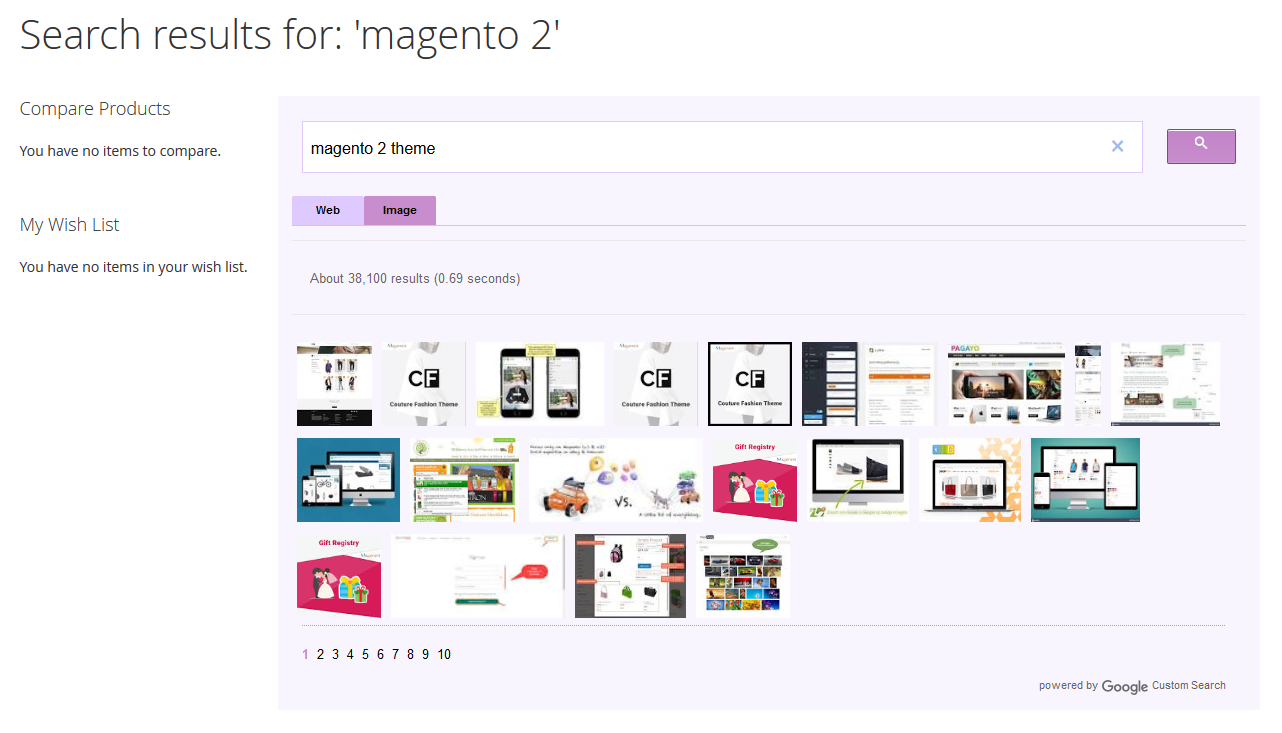
Search Result Screen 3
Useful Technical Blogs
- How to Get All Regions of Country by Country Code in Magento 2
- How to get CMS Block Collection in Magento 2
- How to Remove Block From Layout on Specific Condition in Magento 2
- Magento 2 - How To Get System Configuration Value in phtml File
- Magento 2 - How to Hide Admin Menu Based on System Configuration
- How to Remove Block From Layout on Specific Condition in Magento 2
- Magento 2 - How to Get Customer Data By Customer ID
- Magento 2 - How to Add Date Picker in Custom Form
- Magento 2 - How to Resize Product Image
Best Selling Magento 2 Themes


Help & Support
Please, if you have any questions, run into any issues or just need some help, do not hesitate to contact us via our Support Center. We believe in providing the best support possible, and we monitor our Support center just about daily.
Your feedback is absolutely welcome!