Getting Started
Welcome to Pixtron Free Magento 2 Theme! We would like to thank you for purchasing Pixtron Magento 2 Theme! We are very pleased you have chosen Pixtron Magento 2 Theme for your website, you will be never disappointed! Before you get started, please be sure to always check out this documentation.
Compatible with Magento:
Magento 2.2.x, 2.3.x, 2.4.x
Magento 2 Help:
Video Tutorials
Introduction
Pixtron is a Free Responsive Magento 2 theme that help you explore the next generation of Magento with lots of amazing new features and improvements.
Pixtron is a Free Responsive Magento 2 theme with extremely customizable admin settings. Great as a starting point for your digital Business. It can be suitable for any kind of eCommerce shops, including Digital, Mobile, Fashion, Bags, Shoes, Accessories, etc.
This Magento 2 theme has advanced features which will make your website becomes more professional with clean and classy layouts. It is fully responsive and looks stunning on all types of screens and devices.
Theme Installation
To install the theme follow the instructions below:
Prepare InstallationWe recommend you to duplicate your live store on a development store and try installation on it in advance.
Backup Magento files and the store database.
Disable all cache related section that you have in your Magento.
Theme Installation1. Download theme package from your my account page
2. Copy(upload) files and folders from theme archive to your Magento 2 root directory
3. In command line, using "cd", navigate to your Magento 2 root directory
4. Run below commands
- php bin/magento setup:upgrade
- php bin/magento setup:static-content:deploy -f
5. Flush store cache and log out from the backend and log in again to see changes.
6. Your theme is now installed and ready for work.
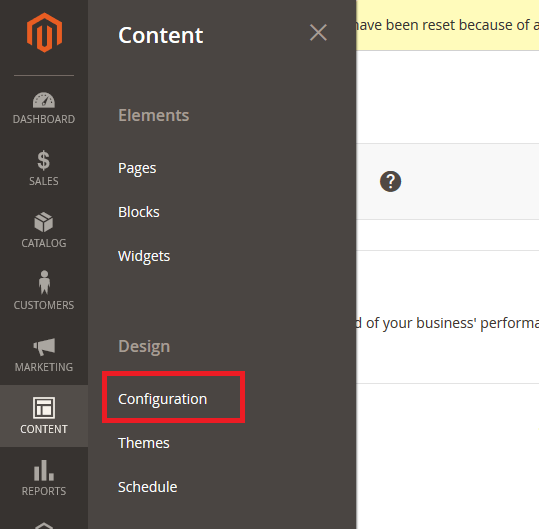
7. Select your HiddenTechies theme in Content > Design > Configuration
Step 1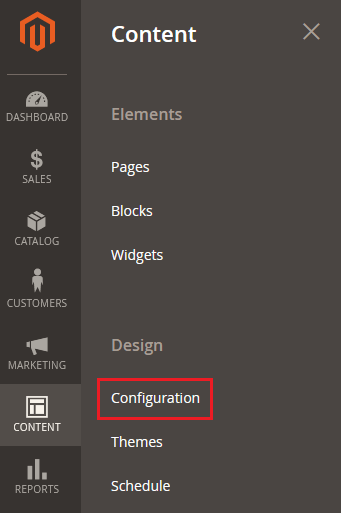 Step 2
 Step 3

Please Note:
Once you done with the theme selection than save settings and clear cache.
Demo Installation
In order to do demo installation, first you should import CMS Pages, Static Blocks and Demo Slider data.
To Import CMS Page, Static Blocks and Demo Slider data follow the steps.
Step 1: Now go to HiddenTechies Theme > Theme Configuration > Installation.
Step 2: If you want to import page and blocks for specific demo then select the "Demo Version" or select "All" to install all page and blocks.
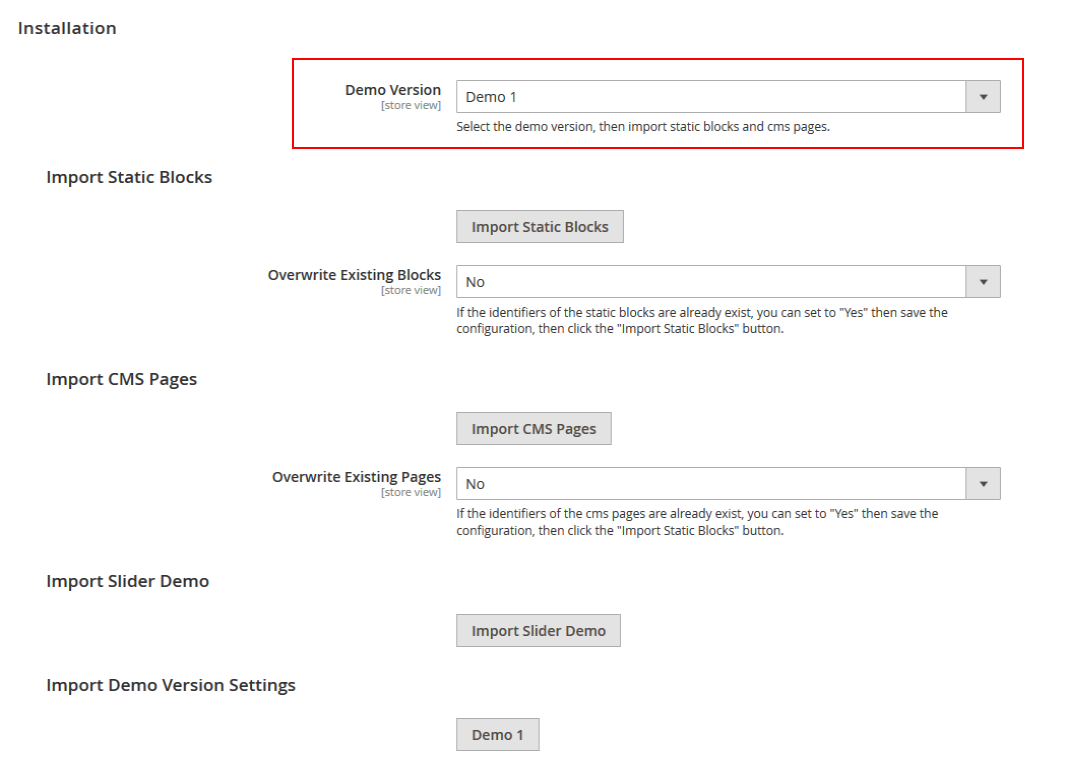
After selecting Demo Version, click on Save Config button.
Step 3: If you want to override existing CMS Pages and Static Blocks, then select "Yes" for "Overwrite Existing Blocks" and "Overwrite Existing Pages".
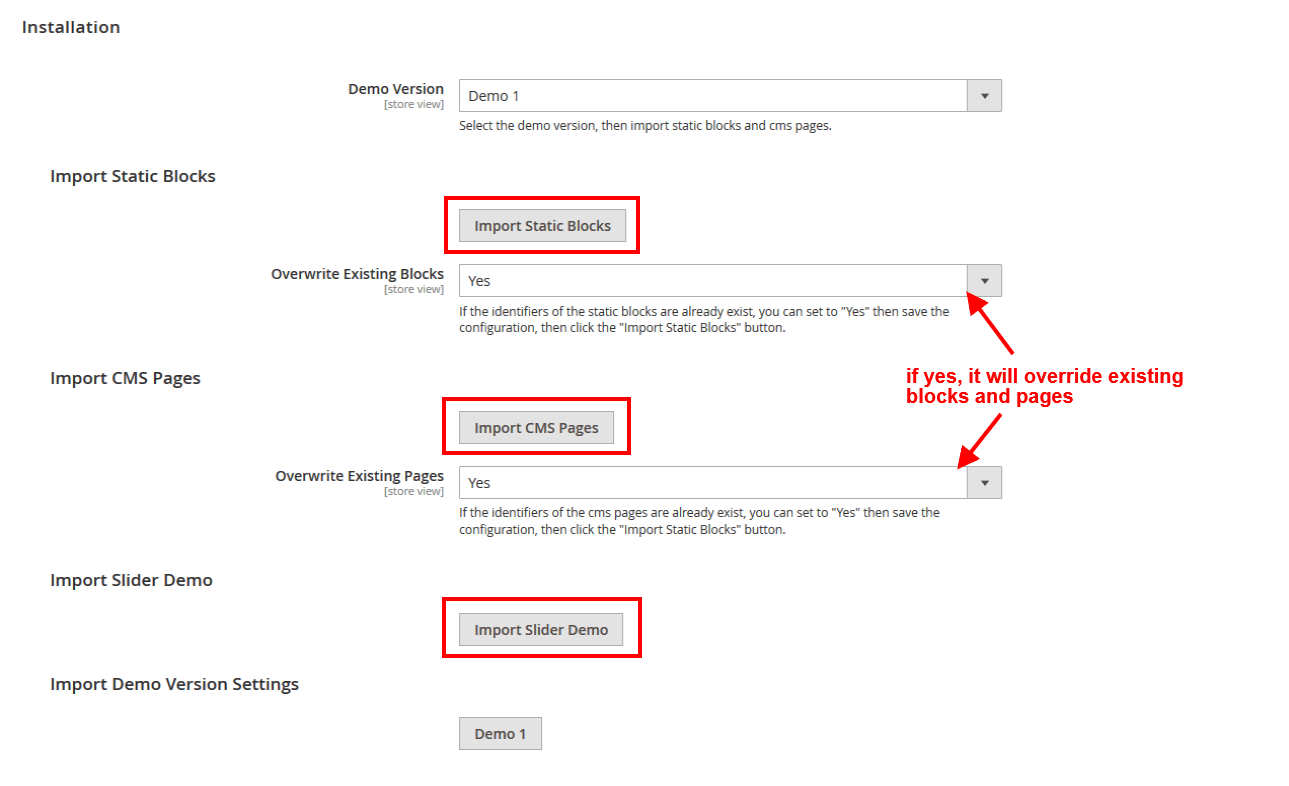
Now click on Save Config button.
Step 4:
Click Import Static Blocks to import all Static Blocks.
Click Import CMS Pages to import all CMS Pages.
Click Import Slider Demo to import Demo Slider data.
Step 5: Click Demo X button to install demo version that you prefer to install.

Next to that flush the cache.
Please Note:
After demo import do not save the config. First flush the cache.
Customization
If you need to customize the theme, we recommend you to create the child theme.
How To Create A Child Theme?

Below steps define how to create a Magento 2 child theme.
For Pixtron Theme
Vendor name: Hiddentechies
Parent Theme name: pixtron
Step 1: Create child theme folder named as {parent-theme-name}_child in the below folder path.
"app/design/frontend/{theme-vendor-name}/{parent-theme-name}_child"
Ex: Magento root folder/app/design/frontend/Hiddentechies/pixtron_child
Step 2: Create file theme.xml inside the child theme.
<theme xmlns:xsi="https://www.w3.org/2001/XMLSchema-instance" xsi:noNamespaceSchemaLocation="urn:magento:framework:Config/etc/theme.xsd">
    <title>Hiddentechies Pixtron Child</title>
    <parent>Hiddentechies/pixtron</parent>
    <media>
        <preview_image>media/preview.jpg</preview_image>
    </media>
</theme>
Step 3: Create a registration.php file for registering your child theme.
<?php

\Magento\Framework\Component\ComponentRegistrar::register(
    \Magento\Framework\Component\ComponentRegistrar::THEME,
    'frontend/Hiddentechies/pixtron_child',
    __DIR__
);
Step 4: Create composer.json.
{
    "name": "hiddentechies/theme-frontend-pixtron-child",
    "description": "N/A",
    "require": {
        "php": "~5.6.5|7.0.2|7.0.4|~7.0.6",
        "magento/theme-frontend-blank": "100.1.*",
        "magento/framework": "100.1.*"
    },
    "type": "magento2-theme",
    "version": "100.1.3",
    "license": [
        "OSL-3.0",
        "AFL-3.0"
    ],
    "autoload": {
        "files": [
            "registration.php"
        ]
    }
}
Step 5:
Add preview.jpg in "app/design/frontend/Hiddentechies/pixtron_child/media" folder.
Add view.xml in "app/design/frontend/Hiddentechies/pixtron_child/etc" folder.
You can copy both file and image from parent theme.
How To Use A Child Theme?
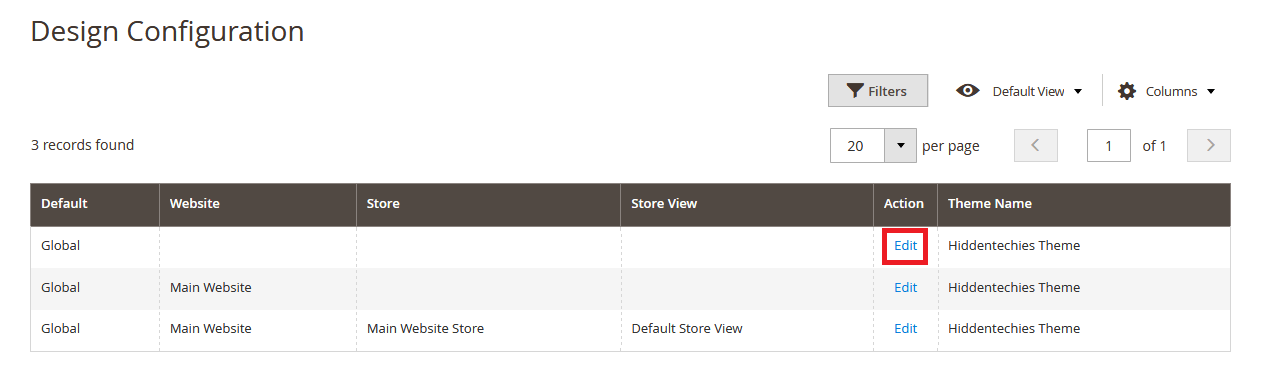
Go to Admin > Content > Design > Configuration
Now click on "Edit"
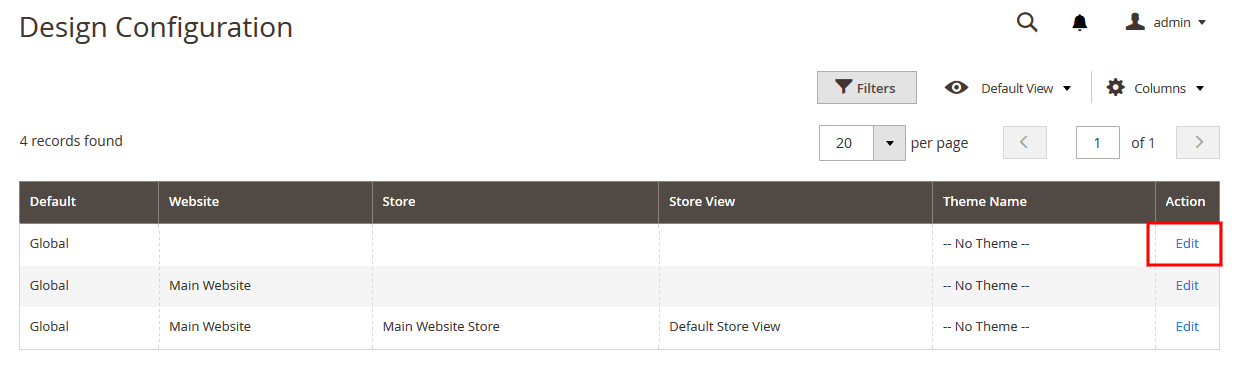
Choose the child theme(Hiddentechies Pixtron Child) from dropdown menu.

And click on Save Configuration button.
Theme Configuration
Homepage Content Configuration
How to select or change a Homepage?
In order to select or change Homepage, Go to Admin > Store > Configuration > General > Web > Default Pages tab, choose the page in CMS Home Page field.
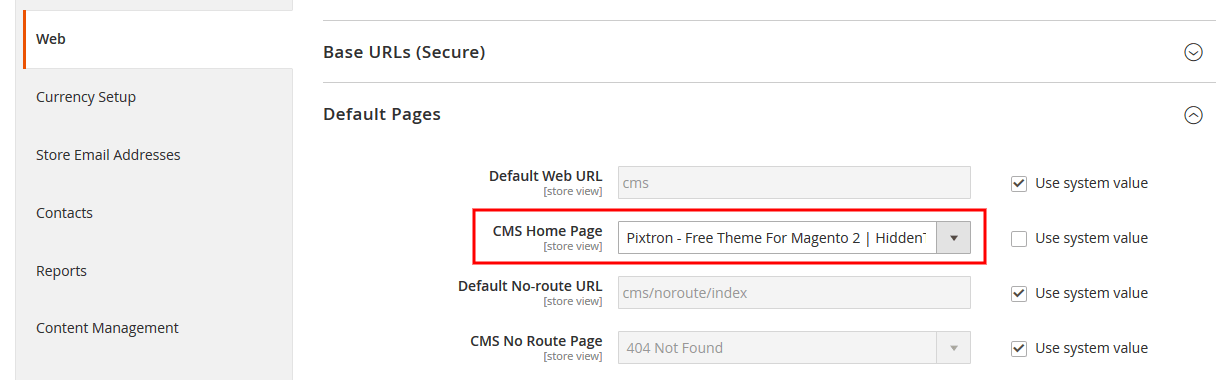
And click on Save Config button.
How to edit Homepage content?
Homepage content structure.
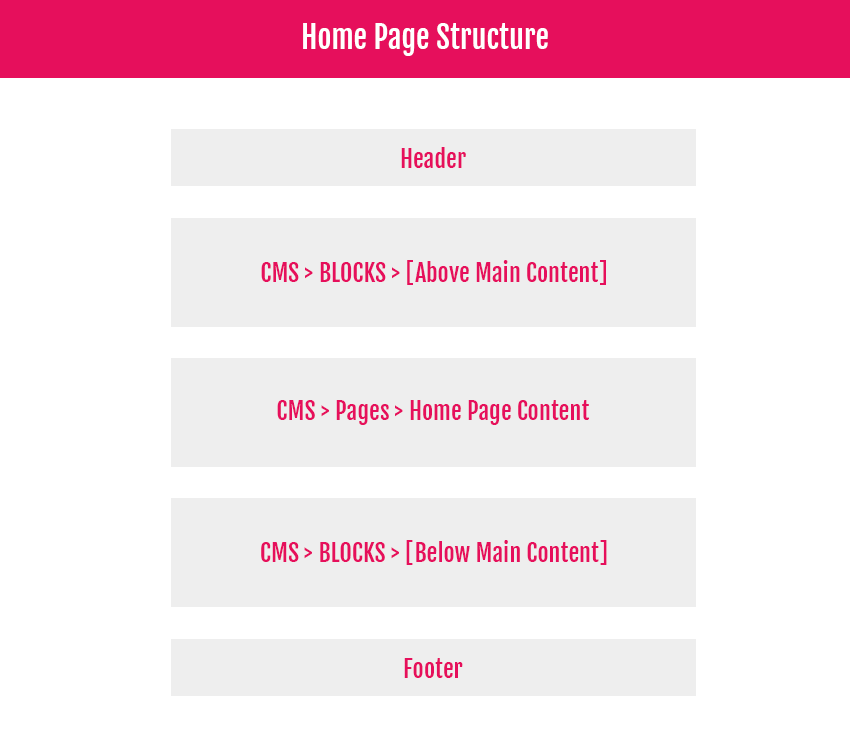
In our Pixtron theme, you can add content from 2 places.
1. From CMS Homepage, go to Content > Elements > Page, open and edit active home page. Content can be found in the main field of the Content tab.
2. From Static Blocks, go to Content > Elements > Blocks.
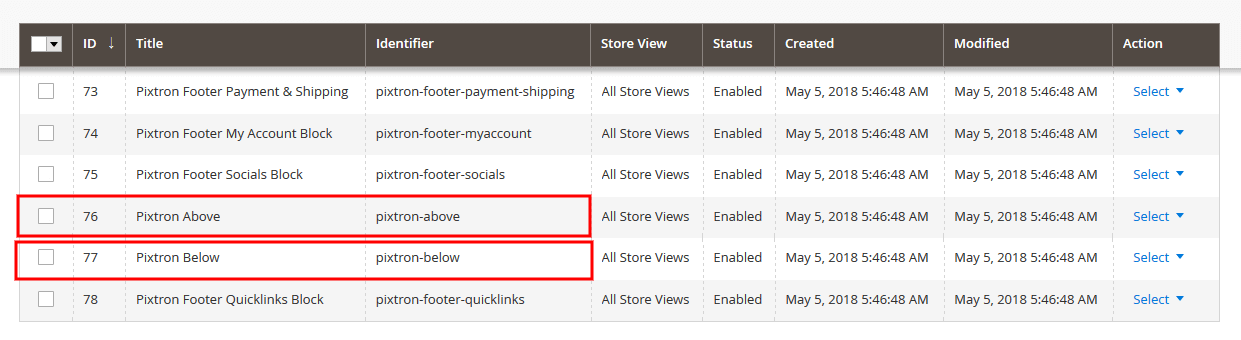
Pixtron theme contains above and below static blocks.
i.e Demo contains "Pixtron Above" and "Pixtron Below"
How to edit homepage slider?
To edit home page slider, please go to Admin > Content > Elements > Blocks and select the "Pixtron Home Slider" static block.
You can add the slider block code into the cms content field like below.
{{widget type="Magento\Cms\Block\Widget\Block" template="widget/static_block/default.phtml" block_id="pixtron-home-slider"}}

How to show featured products in homepage?
Add Featured Products
To add featured products on home page, you need to add product widget in home page.
In order to add widget follow the below steps.
Step 1: Go to edit CMS home page or static block that displays content on home page.
Step 2: Click on Insert Widget... button and select the widget type "Catalog Products List".


Step 3: Add necessary details.
Title: Add title.
Number of Products to Display: Add how many products you want to display in widget.
Conditions: Select "Is Featured" to "Yes".
Please Note:
You need to select "Is Featured" attribute "Yes" in the products.
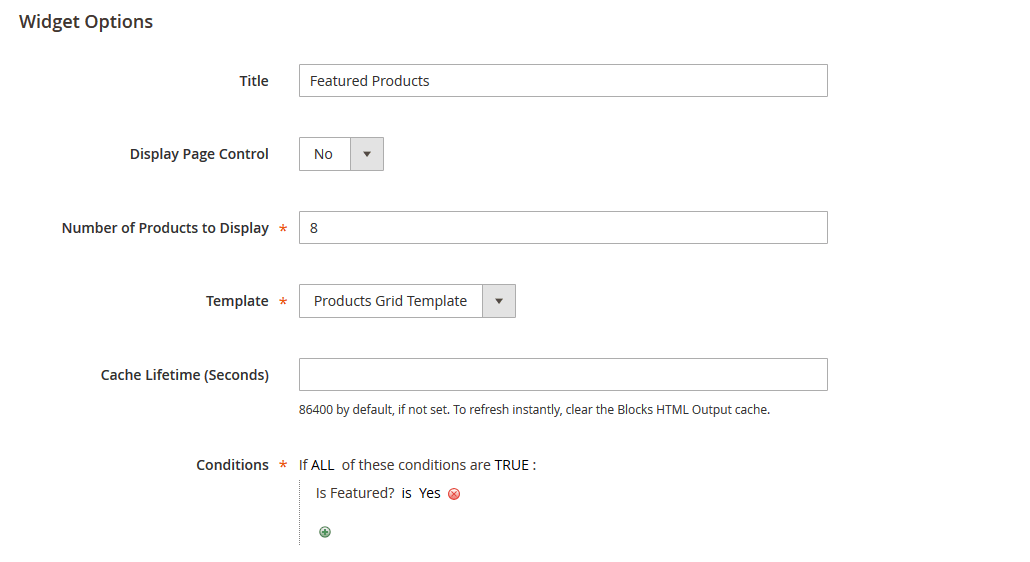
And click on Insert Widget button.
Or you can add the block code into the cms content field like below.
{{widget type="Magento\CatalogWidget\Block\Product\ProductsList" title="Featured Products" show_pager="0" products_count="10" template="product/widget/content/grid.phtml" conditions_encoded="^[`1`:^[`type`:`Magento||CatalogWidget||Model||Rule||Condition||Combine`,`aggregator`:`all`,`value`:`1`,`new_child`:``^],`1--1`:^[`type`:`Magento||CatalogWidget||Model||Rule||Condition||Product`,`attribute`:`is_featured`,`operator`:`==`,`value`:`1`^]^]"}}

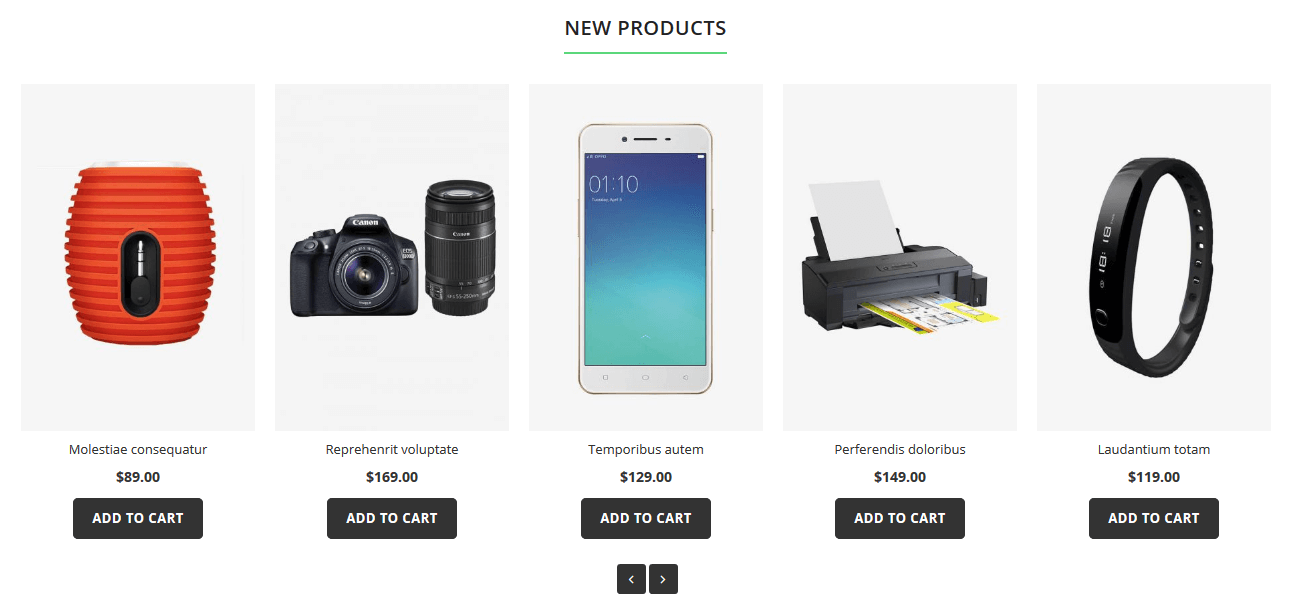
How to show latest(new) products in homepage?
Add New Products
To add new products on home page, you need to add new product's widget in home page.
In order to add widget follow the below steps.
Step 1: Go to edit CMS home page or static block that displays content on home page.
Step 2: Click on Insert Widget... button and select the widget type "Catalog New Products List".

Step 3: Add necessary details.
Number of Products to Display: Add how many products you want to display in widget.
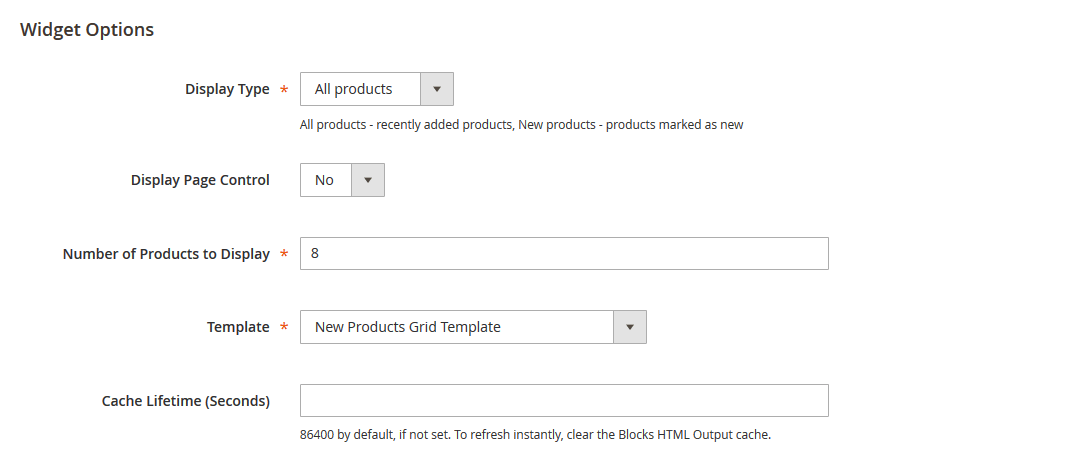
And click on Insert Widget button.
Or you can add the block code into the cms content field like below.
{{widget type="Magento\Catalog\Block\Product\Widget\NewWidget" display_type="all_products" show_pager="0" products_count="10" template="product/widget/new/content/new_grid.phtml"}}
Latest Posts (Blogs) Block
To edit this block, go to Admin > Content > Elements > Blocks and edit "Pixtron Home Blogs".
To add latest news block, use below code into the cms content field.
{{widget type="Magento\Cms\Block\Widget\Block" template="widget/static_block/default.phtml" block_id="Pixtron-home-blogs"}}

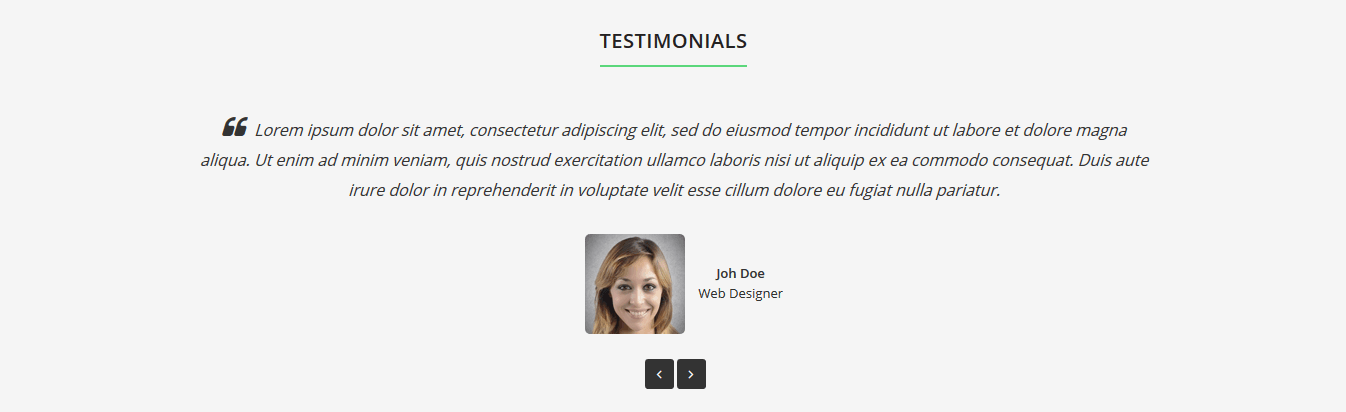
Testimonials Block
To edit this block, go to Admin > Content > Elements > Blocks and edit "Pixtron Home Testimonials".
To add testimonials block, use below code into the cms content field.
{{widget type="Magento\Cms\Block\Widget\Block" template="widget/static_block/default.phtml" block_id="pixtron-home-testimonials"}}
Brands Block
To edit this block, go to Admin > Content > Elements > Blocks and edit "Pixtron Home Brands".
To add brands block, use below code into the cms content field.
{{widget type="Magento\Cms\Block\Widget\Block" template="widget/static_block/default.phtml" block_id="pixtron-home-brands"}}

Other Content Blocks
1. To edit below block, go to Admin > Content > Elements > Blocks and edit "Pixtron Home Images Block (Identifier: pixtron-home-images-three)".
To add, use below code into the cms content field.
{{widget type="Magento\Cms\Block\Widget\Block" template="widget/static_block/default.phtml" block_id="pixtron-home-images-three"}}

2. To edit below block, go to Admin > Content > Elements > Blocks and edit "Pixtron Home Images Block (Identifier: pixtron-home-images-two)".
To add, use below code into the cms content field.
{{widget type="Magento\Cms\Block\Widget\Block" template="widget/static_block/default.phtml" block_id="pixtron-home-images-two"}}

3. To edit below block, go to Admin > Content > Elements > Blocks and edit "Pixtron Home Images Block (Identifier: pixtron-home-images-one)".
To add, use below code into the cms content field.
{{widget type="Magento\Cms\Block\Widget\Block" template="widget/static_block/default.phtml" block_id="pixtron-home-images-one"}}

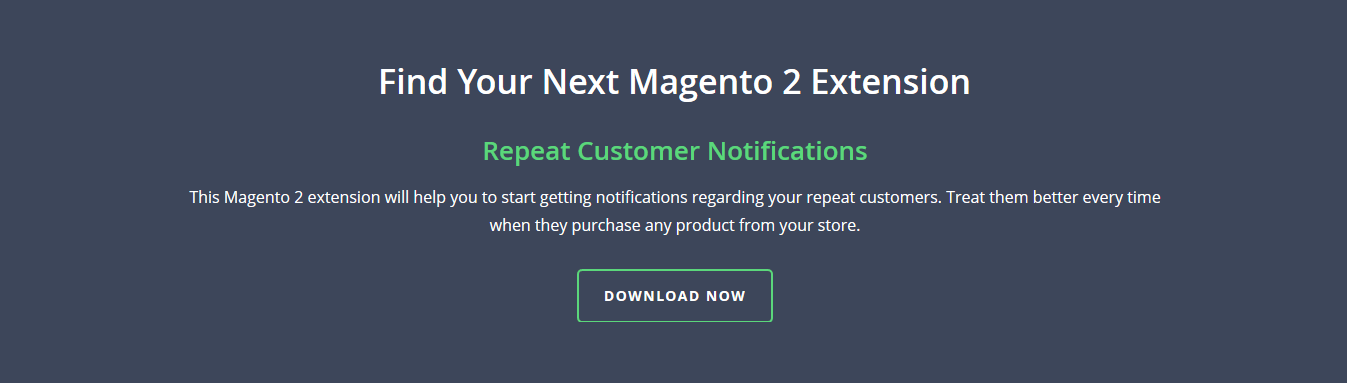
4. To edit below block, go to Admin > Content > Elements > Blocks and edit "Home Extension Slider".
To add, use below code into the cms content field.
{{widget type="Magento\Cms\Block\Widget\Block" template="widget/static_block/default.phtml" block_id="home-extension-slider"}}
5. To edit below block, go to Admin > Content > Elements > Blocks and edit "Pixtron Home Services Block".
To add, use below code into the cms content field.
{{widget type="Magento\Cms\Block\Widget\Block" template="widget/static_block/default.phtml" block_id="pixtron-home-services"}}

Header Configuration
How to change Logo?
Go to Admin > Content > Design > Configuration > Edit your theme > Header Tab
Logo Image: Upload your logo.
Logo Attribute Width: Add logo width.
Logo Attribute Height: Add logo height.
Welcome Text: Welcome texts in header.
Logo Image Alt: Logo Alt texts. It will display if in case logo image is not found.
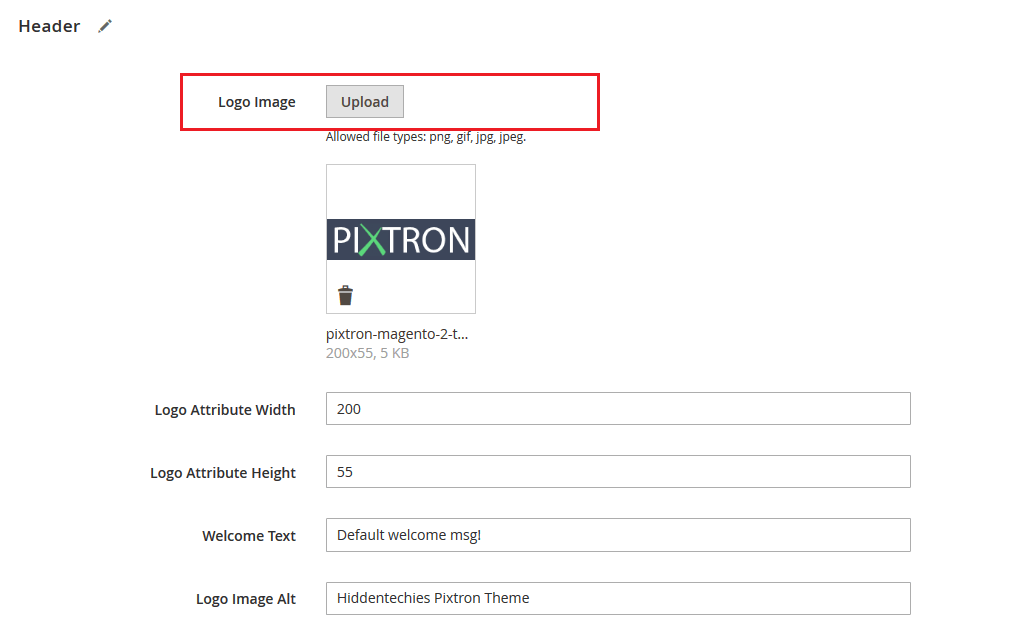
Click on Save Configuration button.
How to change Favicon?
Go to Admin > Content > Design > Configuration > Edit your theme > HTML Head Tab
Favicon Icon: Upload your favicon icon with one of below file types.
Allowed file types: ico, png, gif, jpg, jpeg, apng.
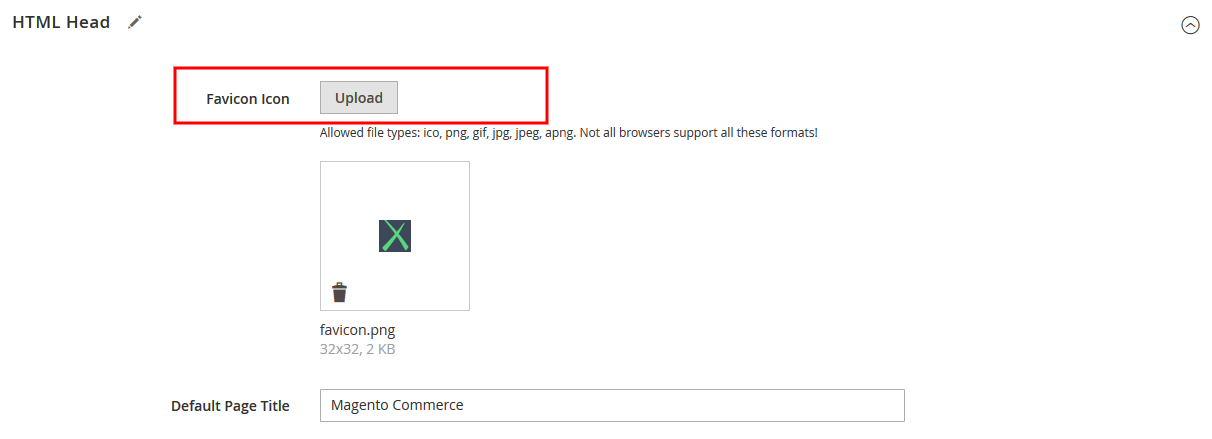
Click on Save Configuration button.
Footer Configuration
Pixtron theme provides config options to manage footer links, contact details and copyright texts.
Footer Columns
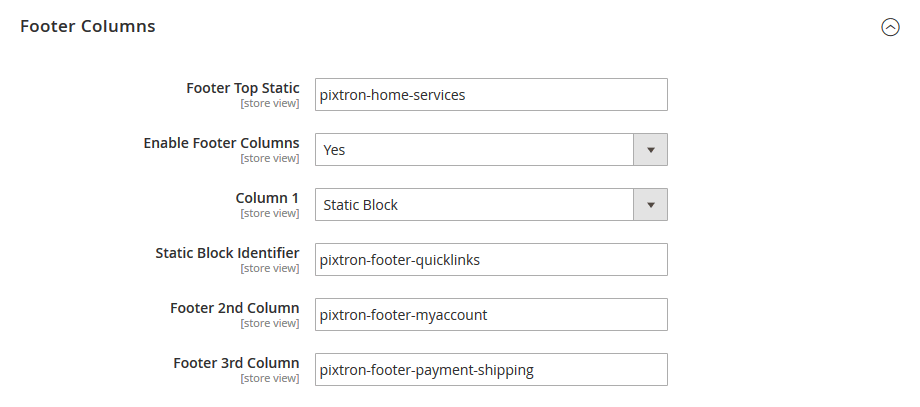
Footer Top Static: Add static block identifier to display content above the footer columns.
Static block used in demo - Pixtron Home Services Block (Identifier: pixtron-home-services)
Enable Footer Columns: Enable/Disable Footer column block.
Column 1:
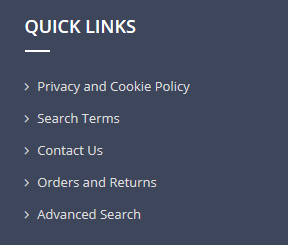
1. If you want to display content from static block then select "Static Block" option in dropdown and add static block identifier.
Static block used in demo - Pixtron Footer Quicklinks Block (Identifier: pixtron-footer-quicklinks)
2. Select "Quick Links" option from dropdown to display Magento 2 default footer links block.
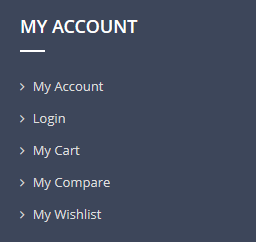
Footer 2nd Column: Add static block identifier to display content in footer 2nd column.
Static block used in demo - Pixtron Footer My Account Block (Identifier: pixtron-footer-myaccount)
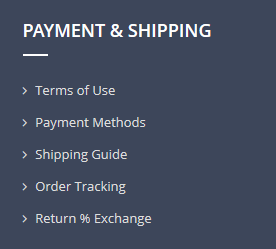
Footer 3rd Column: Add static block identifier to display content in footer 3rd column.
Static block used in demo - Pixtron Footer Payment & Shipping (Identifier: pixtron-footer-payment-shipping)
Footer Contact Block

Add/Edit address, email and phone number display in 4th footer column.

Footer Copyright
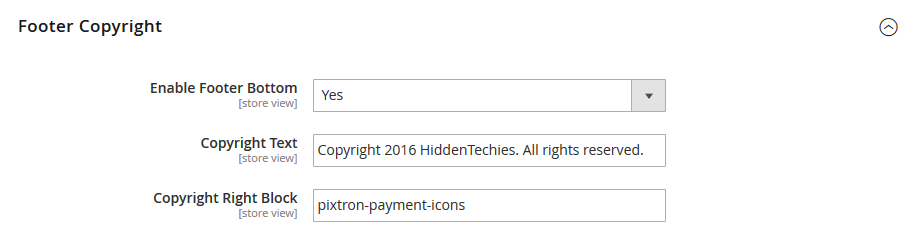
Enable Footer Bottom: Enable/Disable footer bottom block
Copyright Text: Add copyright text.
Copyright Right Block: Add static block identifier to add static content right to the copyright text.
Static block used in demo - Pixtron Payments Icons (Identifier: pixtron-payment-icons)

Other Settings
Pixtron is equipped with administrative module which gives you the ability to configure most of the functionality in powerful admin panel. Using this powerful settings panel, you can configure your store easily without any coding.
Go to Stores > Configuration > Hiddentechies > Pixtron Settings section to start your own configuration.
Please Note:
We recommend you to disable magento cache before you start configuration of theme from settings panel. Otherwise, you will need to flush the cache everytime to see your changes.
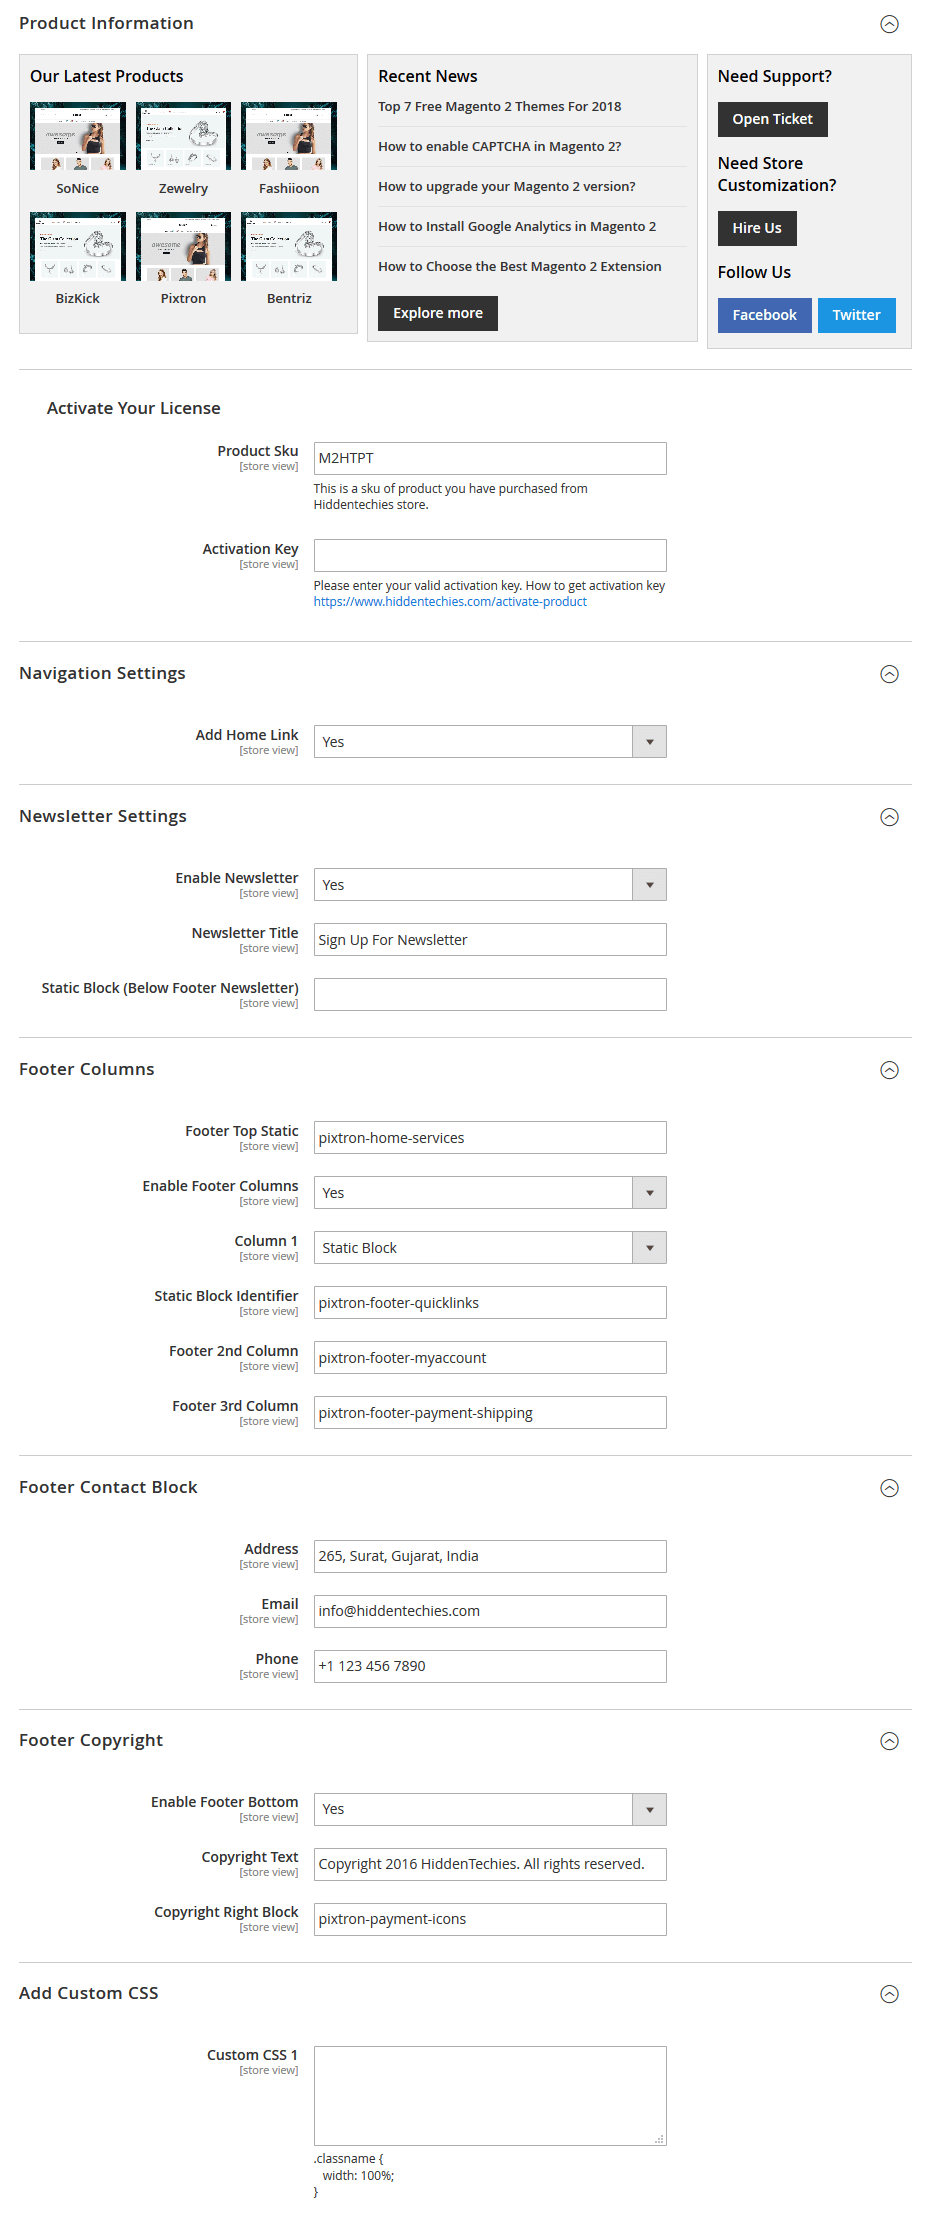 Navigation Settings
Add Home Link: Select Yes or No. If Yes, it will display "Home" link in navigation menu.
Newsletter SettingsEnable Newsletter: Enable/Disable footer newsletter section.
Newsletter Title: Enter Newsletter block title.
Static Block (Below Footer Newsletter): Enter static block identifier to display static content below newsletter block.
 Add Custom CSS
Custom CSS 1: You can put your own CSS styles without touching theme files.
Useful Technical Blogs
- How to Get All Regions of Country by Country Code in Magento 2
- How to get CMS Block Collection in Magento 2
- How to Remove Block From Layout on Specific Condition in Magento 2
- Magento 2 - How To Get System Configuration Value in phtml File
- Magento 2 - How to Hide Admin Menu Based on System Configuration
- How to Remove Block From Layout on Specific Condition in Magento 2
- Magento 2 - How to Get Customer Data By Customer ID
- Magento 2 - How to Add Date Picker in Custom Form
- Magento 2 - How to Resize Product Image
Best Selling Magento 2 Themes


Help & Support
Please, if you have any questions, run into any issues or just need some help, do not hesitate to contact us via our Support Center. We believe in providing the best support possible, and we monitor our Support center just about daily.
Your feedback is absolutely welcome!