
In this post I am going to explain how to create custom widget in magento 2.
First we will create the widget configuration file widget.xml, that contains all widget fields. So, create the widget.xml file with following content.
File Path: etc/widget.xml
<?xml version="1.0" encoding="UTF-8"?>
<widgets xmlns:xsi="http://www.w3.org/2001/XMLSchema-instance" xsi:noNamespaceSchemaLocation="urn:magento:module:Magento_Widget:etc/widget.xsd">
    <widget id="my_module_widget" class="Ht\Mymodule\Block\Widget\Mymodule">
        <label translate="true">Ht Mymodule Widget</label>
        <description>Ht Mymodule Widget Description</description>
        <parameters>
            <parameter name="text_field" xsi:type="text" required="false" visible="true">
                <label translate="true">Text Field</label>
            </parameter>
            <parameter name="dropdown_field" xsi:type="select" visible="true" source_model="Ht\Mymodule\Model\Source\Dropdownoptions">
                <label translate="true">Dropdown Field</label>
            </parameter>
            <parameter name="yes_no_field" xsi:type="select" visible="true" source_model="Magento\Config\Model\Config\Source\Yesno">
                <label translate="true">Yes/No Field</label>
            </parameter>
        </parameters>
    </widget>
</widgets>
“Dropdown Field” is a select box and we have defined a custom source: Ht\Mymodule\Model\Source\Dropdownoptions
So, we need to create the source file as well.
File path: app/code/Ht/Mymodule/Model/Source/Dropdownoptions.php
<?php

namespace Ht\Mymodule\Model\Source;

class Dropdownoptions implements \Magento\Framework\Option\ArrayInterface
{
    public function toOptionArray()
    {
        return [
            ['value' => '1', 'label' => __('Option 1')],
            ['value' => '2', 'label' => __('Option 2')]
        ];
    }
}
Next step is to create a custom block that our widget will use.
File Path: app/code/Ht/Mymodule/Block/Widget/Mymodule.php
<?php

namespace Ht\Mymodule\Block\Widget;

use Magento\Framework\View\Element\Template;
use Magento\Widget\Block\BlockInterface;

class Mymodule extends Template implements BlockInterface {

    protected $_template = "widget/mymodule.phtml";

}
In block file we have added template file path for widget. In this template file you can get widget option’s values.
File Path: app/code/Ht/Mymodule/view/frontend/templates/widget/mymodule.phtml
<?php

if ($block->getData('text_field')) {
    echo $block->getData('text_field') . '<br/>';
}

if ($block->getData('dropdown_field')) {
    echo $block->getData('dropdown_field') . '<br/>';
}

if ($block->getData('yes_no_field')) {
    echo $block->getData('yes_no_field') . '<br/>';
}
We done with the widget. So now flush the cache and check for the widget.
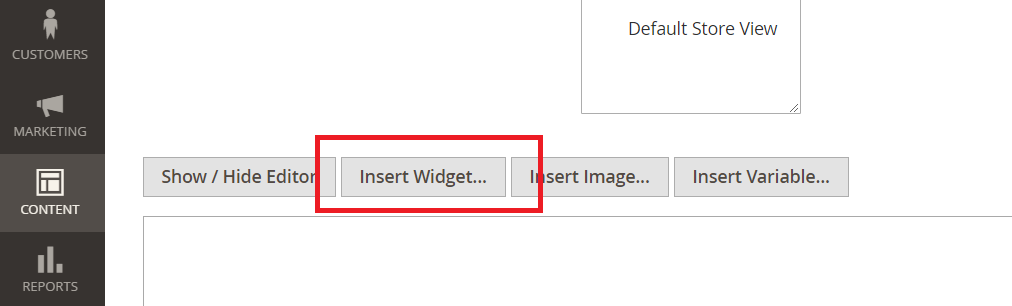
Login to Admin panel and Go to Content > Pages/Blocks. And add new or edit existing CMS page and CMS static block.
In Content tab, click on “Insert Widget…” button.
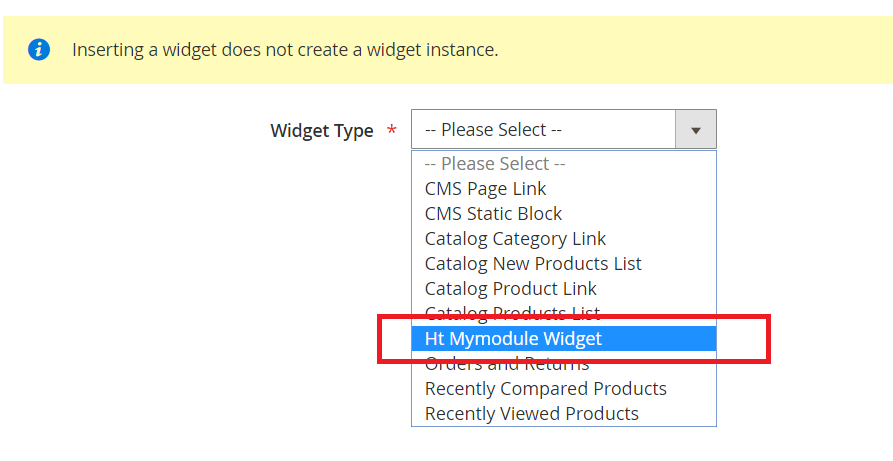
You will see the “Ht Mymodule Widget” in widget list. Select the widget and add/select values to fields.
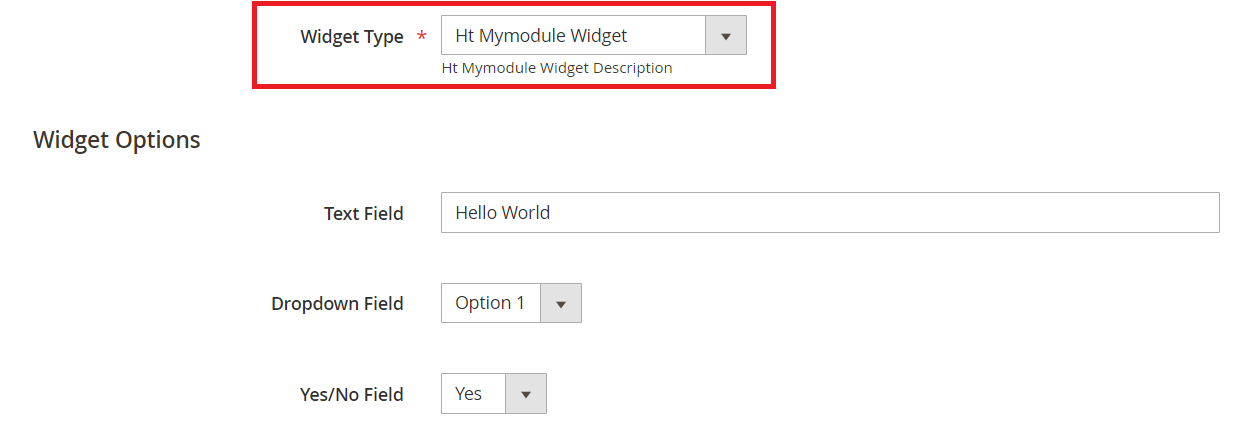
You will get code like like below in CMS page or static block.
{{widget type="Ht\Mymodule\Block\Widget\Mymodule" text_field="Hello World" dropdown_field="1" yes_no_field="1"}}At final, Clear the cache and check for the result.
Thats it. Enjoy Magento 2!!

Write an article about ecommerce that help people to grow their ecommerce business. You’ll find best ecommerce guide, news, tips & more!

May 6, 2020 at 2:40 pm
Very Impressive Information. Thank you for sharing with us.