
In this article we’ll show you, how to create a Virtual Product in Magento 2. The Virtual products are only created for services or subscriptions. Follow this simple guideline…
Step 1: Get Started
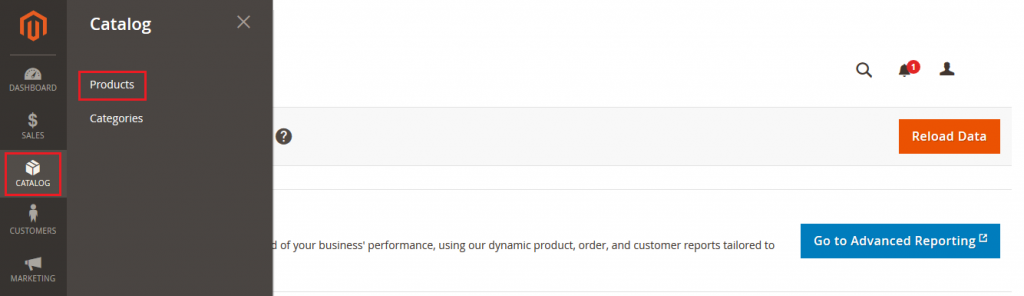
Login into Magento Admin Panel and select the Catalog from left hand side menu. Then click on Product.
Step 2: Choose the Product type
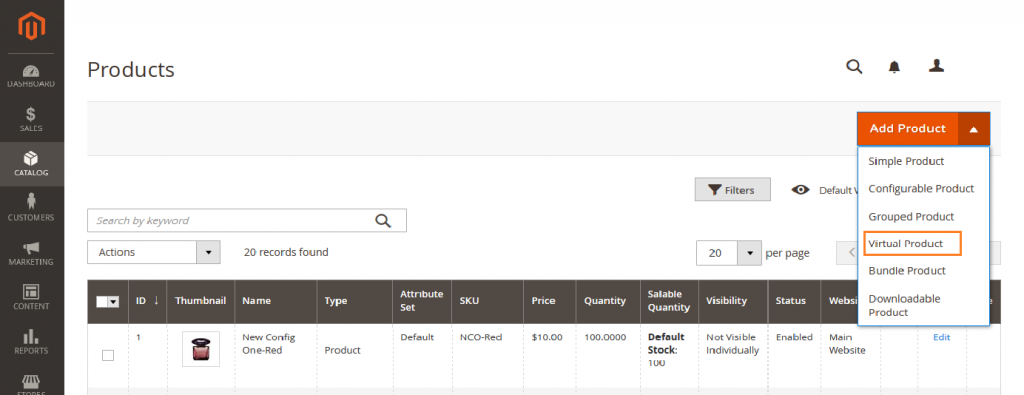
Now click on Add Product button and select Virtual Product form dropdown list.
Step 3: Fill the required Fields
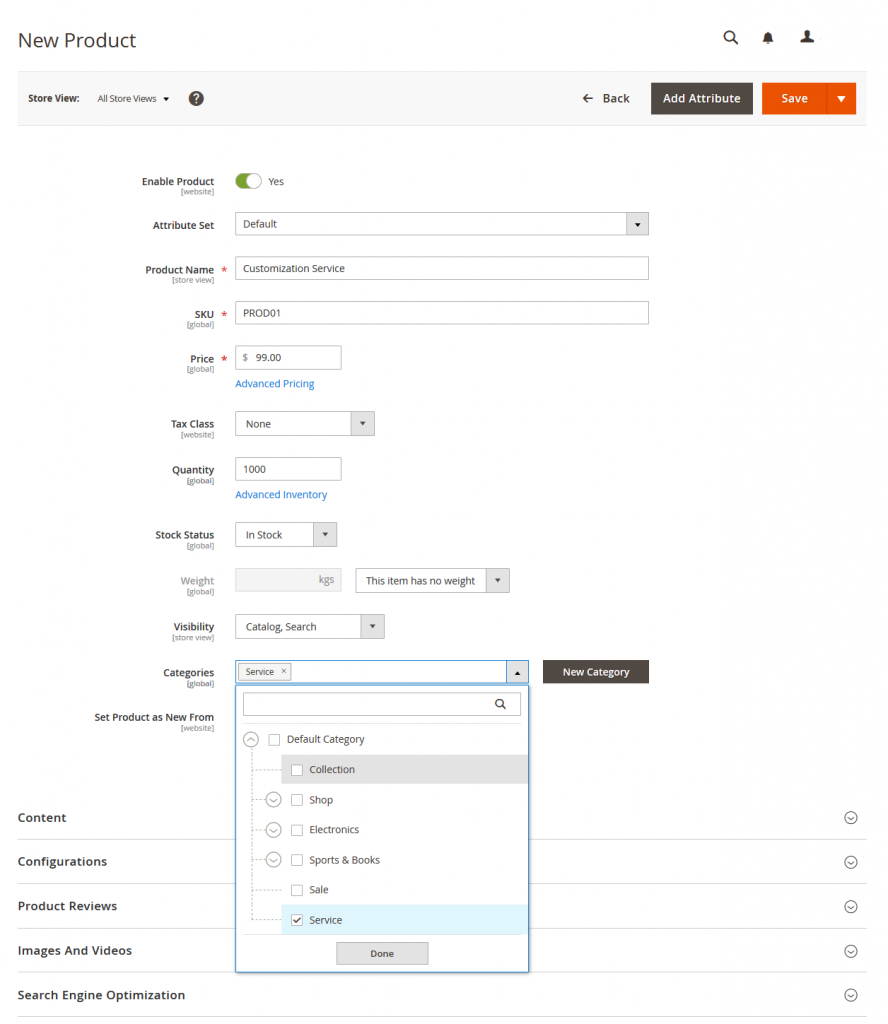
Attribute Set: In the Attribute Set section, you can select the Attribute Set for the product. Magento provides default Attribute Set. Also you can create Attribute Set by yourself.
Product Name: Enter the product name you want.
SKU: Add SKU for the product. By default, the system will auto-fill SKU the same as Product Name.
Price: Set the price of product.
Tax Class: You can select tax here. Either None or Taxable Goods.
Quantity: Add the quantity of the product.
Weight: For Virtual Product, Select This Item has no Weight.
Category: Select the categories for the product in the drop-down list or you can also create New Category.
Step 4: Add Content
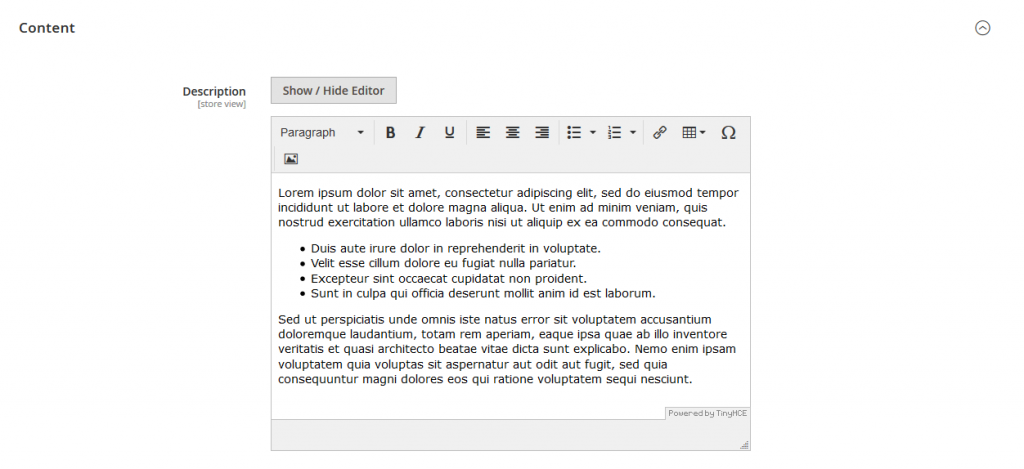
In the Content tab you can add product description here.
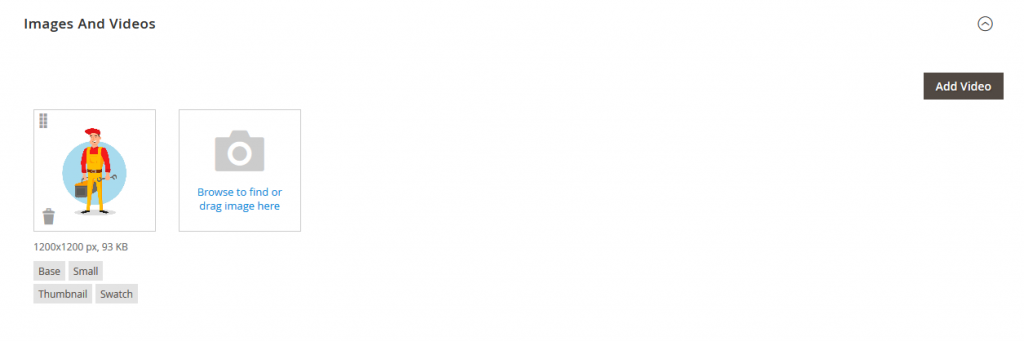
Step 5: Add Images and Videos
You can add product images and video here.
When you click on images, images opens and you setup more image details here.
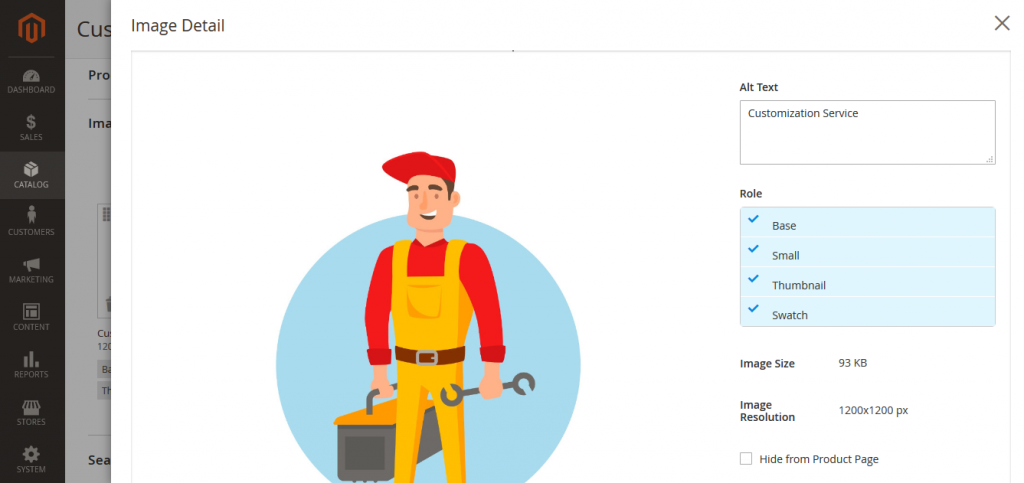
Alt Text: Alter text is an alternative text to image. Alt tags will be displayed in place of an image if an image file cannot be loaded. Add you product Alter text here.
Role: It is a image role, see following
Base: Main image on the product detail page.
Small: It is Used for the product images in listings on category and search results pages, Up-sells, Cross-sells, and the New Products List.
Thumbnail: Appear in the thumbnail gallery, shopping cart, and in some blocks such as Related Items.
Swatch: Used to illustrate the color, pattern, or texture.
Step 6: Search Engine Optimization
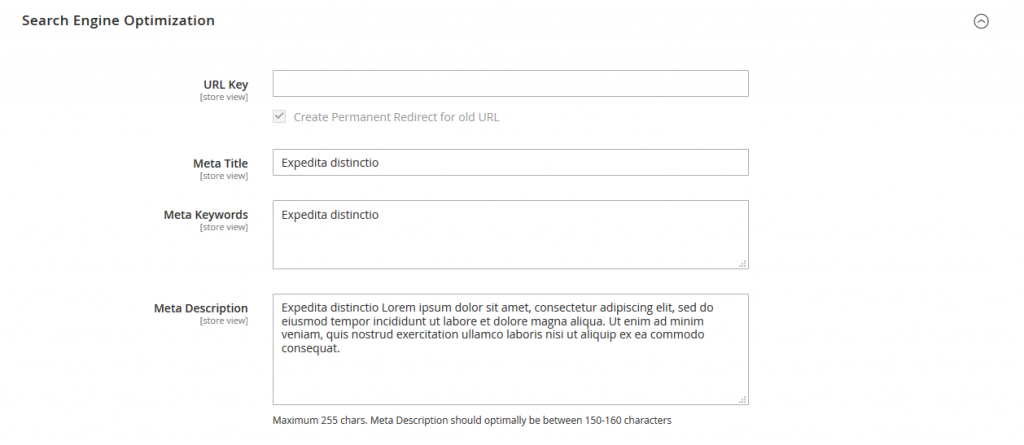
URL Key: The default URL Key is based on the product name. You can also change URL if you want.
Meta Title: The text that appears at the top of the browser tab. You can use the default, which is based on the Product Name, or you can also change it.
Meta Keywords: Add the high value keyword to gain more product visibility in search engine.
Meta Description: The text that appears in search results listings. Enter a product description that is between 150-160 characters in length.
Step 7: Product In Websites
Here, You will choose the websites, store views in which the product will be available.

Step 9: Save Product
Save the product and see in frontend.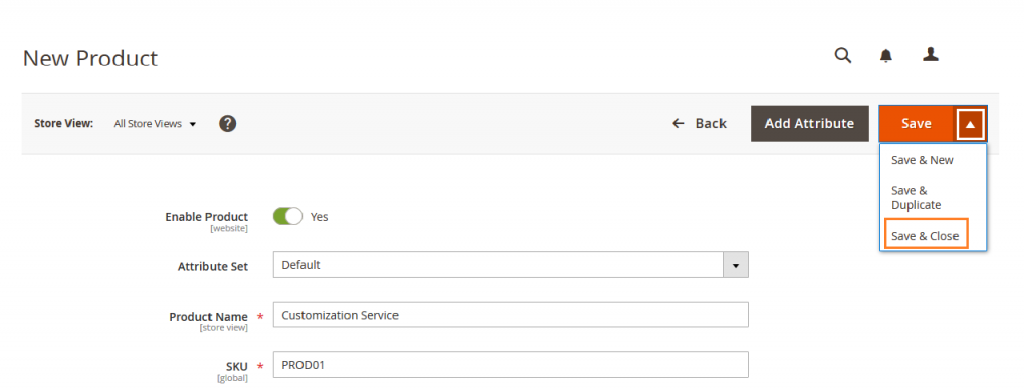
Check on frontend…
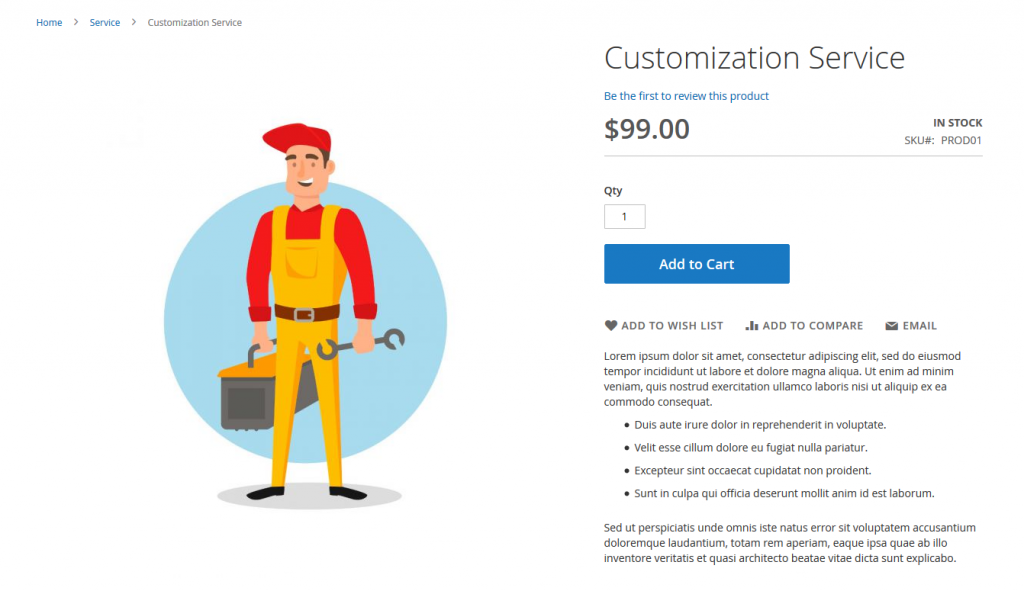
Yeah Done…! Let us know if you have any query. Feel free to ask us in the comment section below. We are here to help you 🙂

Write an article about ecommerce that help people to grow their ecommerce business. You’ll find best ecommerce guide, news, tips & more!

Leave a Reply