
In this article, we’ll show you, how to create a Virtual product in PrestaShop. Follow this simple guideline…
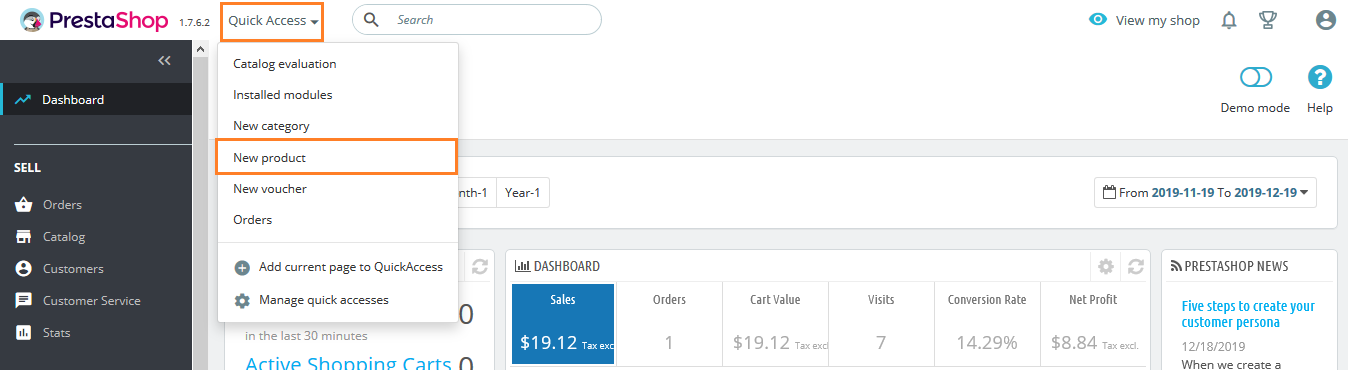
Step 1: Login into PrestaShop Back-Office and from Quick Access dropdown, Click on New product
Step 2: At the Top, Specify the Product Name, and Select Type – a Virtual product.
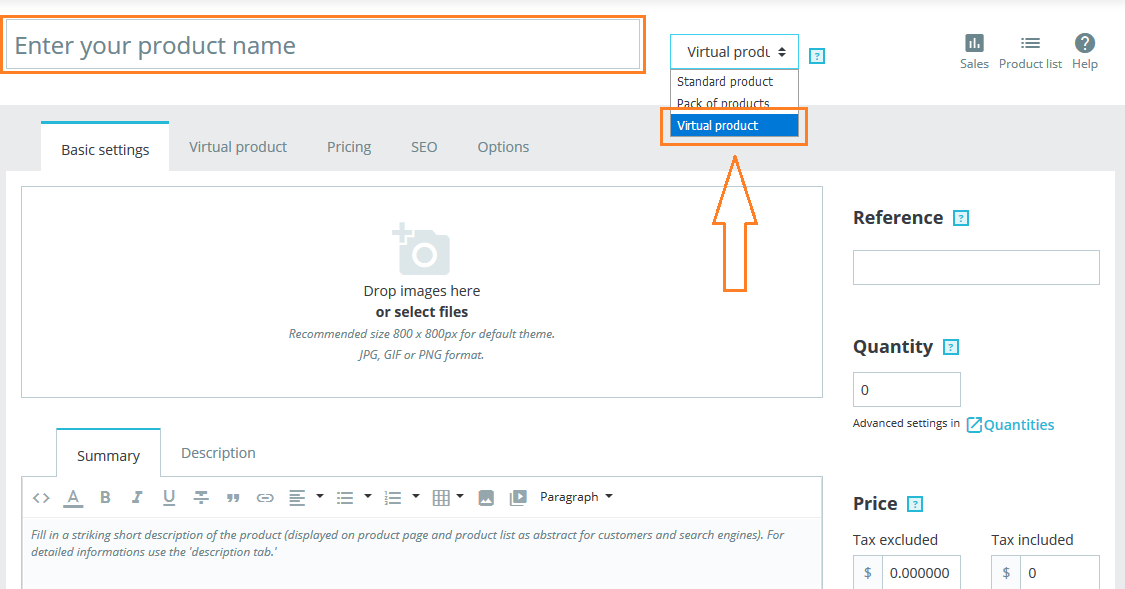
Step 3: In the Basic Setting tab, Add a summary and description for the product. You can upload product images here also.
Step 4: In the Virtual product tab, Configure all options. Here you can add virtual file as highlighted in the below image.
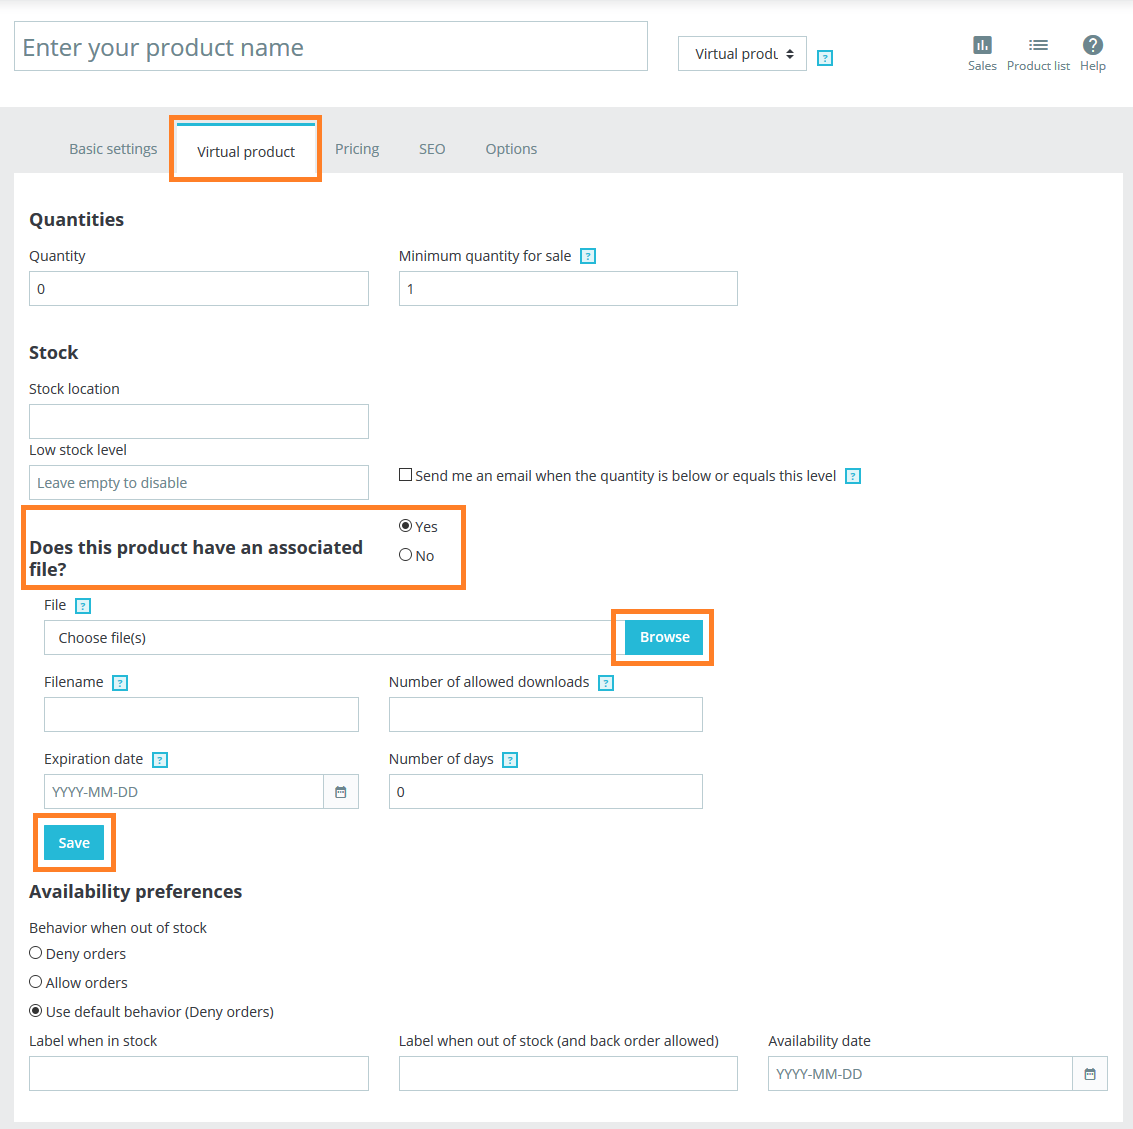
Once you have configured all the options associated with the item you are adding, then click the Save button at the bottom of the page. Done! Check out Best PrestaShop Tutorials here!


Write an article about ecommerce that help people to grow their ecommerce business. You’ll find best ecommerce guide, news, tips & more!

Leave a Reply