
In this article we’ll show you, how to configure VAT ID Validation in Magento 2. Follow this simple guideline…
Step 1: Get Started
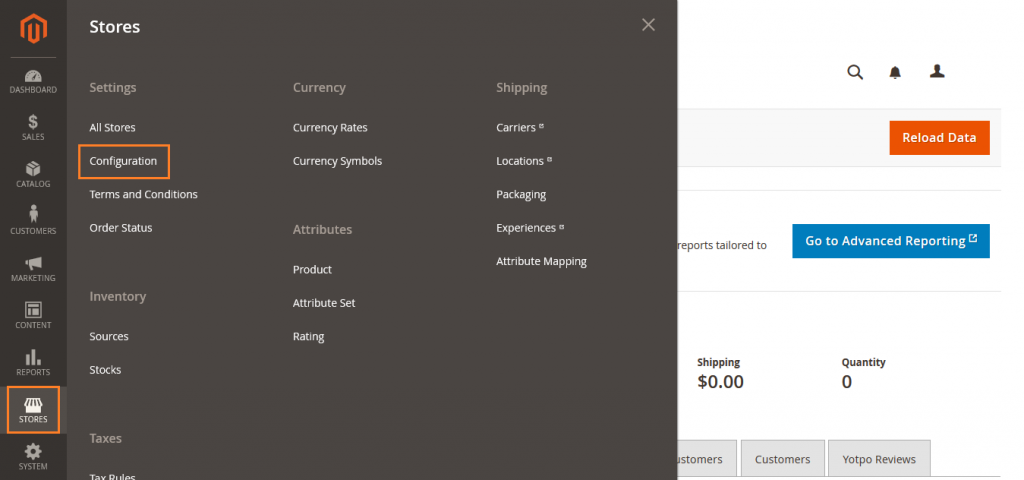
Login into Magento Admin Panel and from sidebar go to, Stores > Settings > Configuration. If necessary, set the Store View for the configuration.
Step 2: Configure VAT ID Validation
From sidebar go to Customer > Customer Configuration
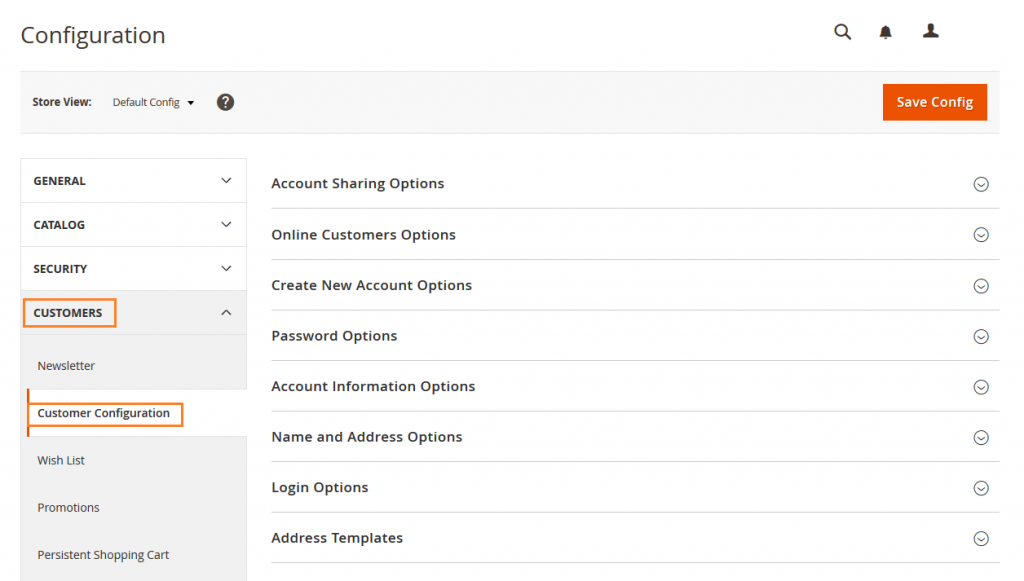
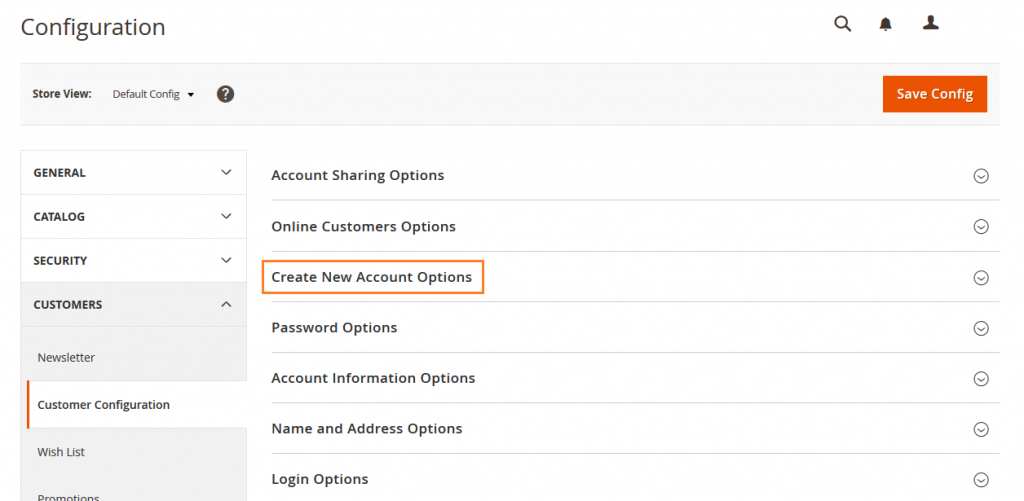
Expand the Create New Account Option.
Set Enable Automatic Assignment to Customer Group to Yes. Then complete the following fields as needed.
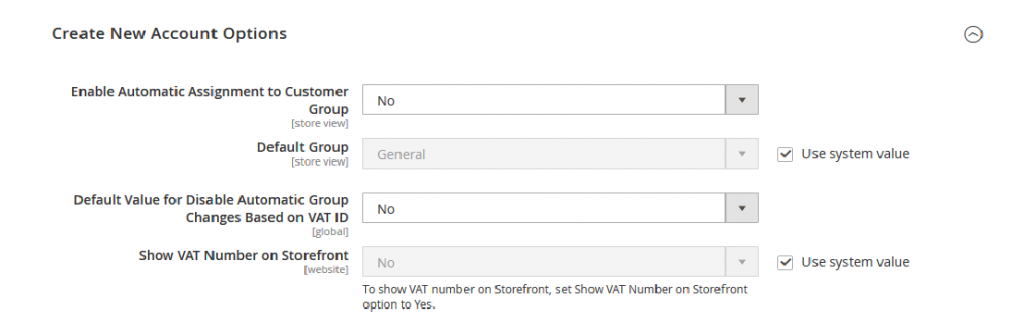
- Default Group
- Default Value for Disable Automatic Group Changes Based on VAT ID
- Show VAT Number on Storefront
When complete, Click on Save Config button.

Yeah Done! Let us know in the comment section below if you have any question. We are happy 🙂 to help you! Check out Best Magento Tutorials here!


Write an article about ecommerce that help people to grow their ecommerce business. You’ll find best ecommerce guide, news, tips & more!

Leave a Reply