
In this article we’ll show you, how to Configure Full-page Cache in Magento 2. Follow this simple guideline…
Step 1: Get Started
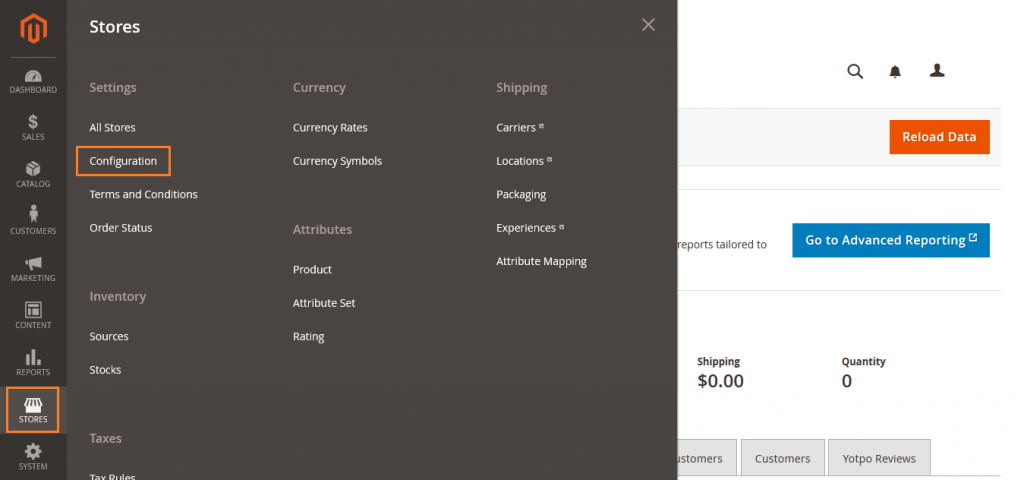
Login into Magento Admin Panel and from sidebar go to, Store > Settings > Configuration.
Step 2: Configure Full-page Cache
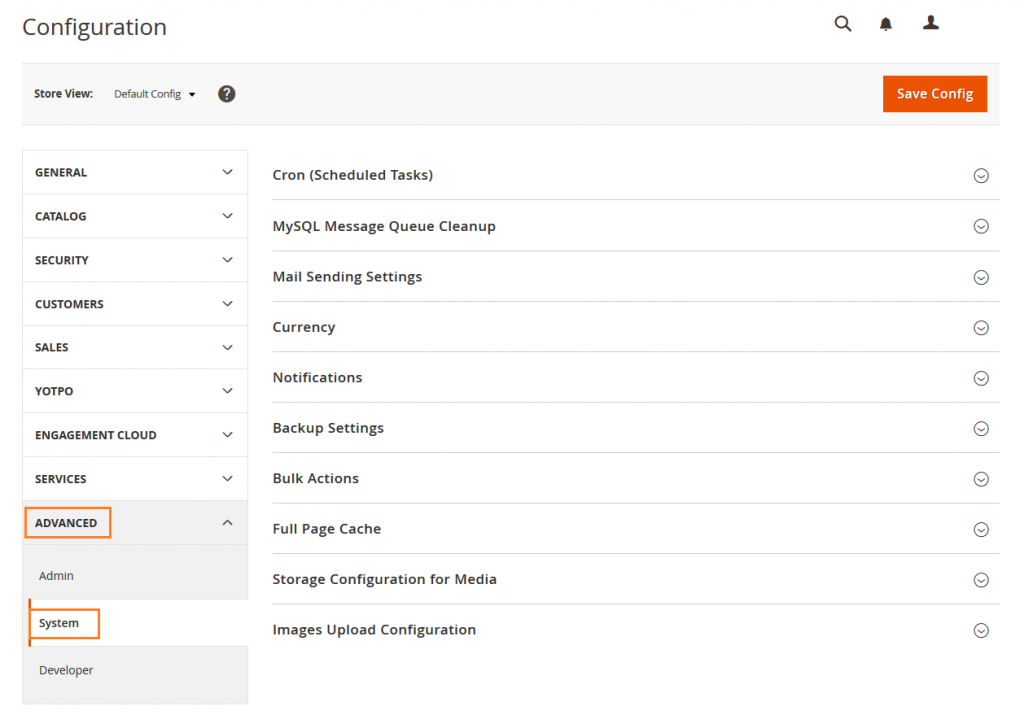
Now from sidebar, Go to Advanced > System.
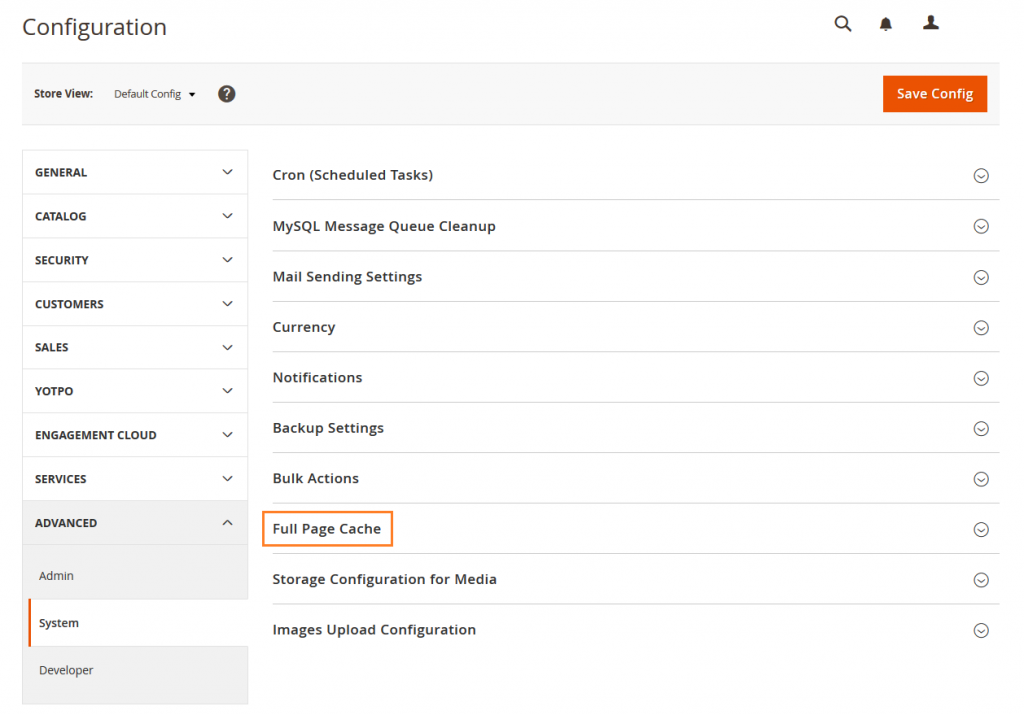
Now Expand Full-page Cache section.
Caching Application: Set one of the following.
- Built-in Application
- Varnish Caching
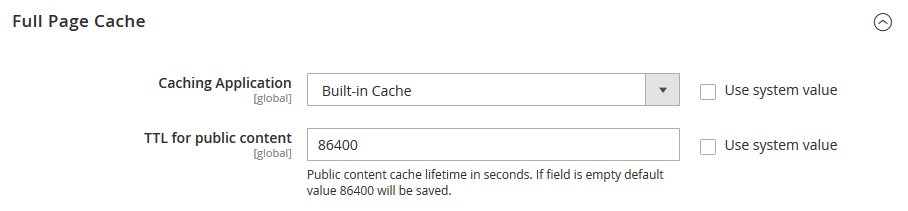
TTL for public content: Set the timeout for the page cache. The default value is 86400.
If you choose Caching Application as Varnish Caching then complete the Varnish Configuration section as follows.
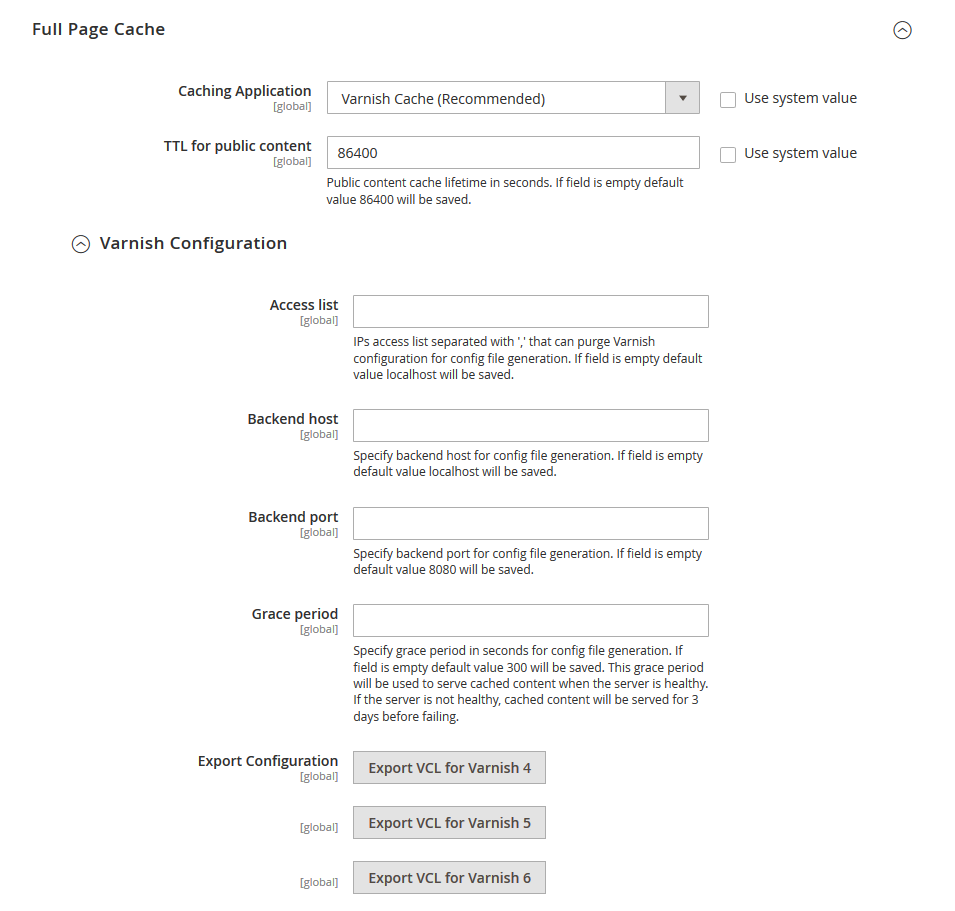
Access list – Enter the IP addresses that can purge the Varnish configuration to generate a Config file.
Backend host – Enter the IP address of the backend host that generates Config files.
Backend port – Identify the backend port that is used to generate Config files.
To export the configuration as a varnish.vcl file, click the button for the version of Varnish that you use.
When complete, click on Save Config button.

Yeah Done! Let us know in the comment section below if you have any question. We are happy 🙂 to help you! Check out Best Magento Tutorials here!


Write an article about ecommerce that help people to grow their ecommerce business. You’ll find best ecommerce guide, news, tips & more!

Leave a Reply