
In this article, we’ll show you, how to add a new carrier in PrestaShop. Follow this simple guideline as shown below.
Step 1:
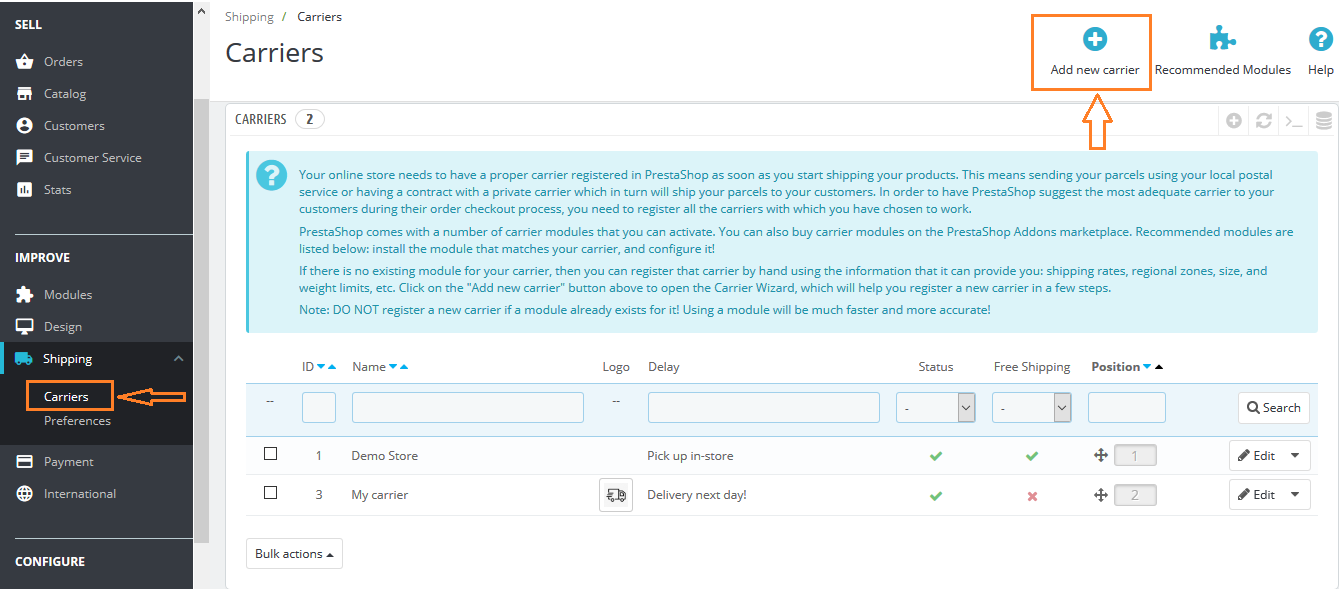
To add a new carrier, Login into PrestaShop Back-Office and navigate to Shipping > Carriers.
Step 2:
Click the Add new carrier button.
Step 3:
Fill up the information in the General Settings panel.
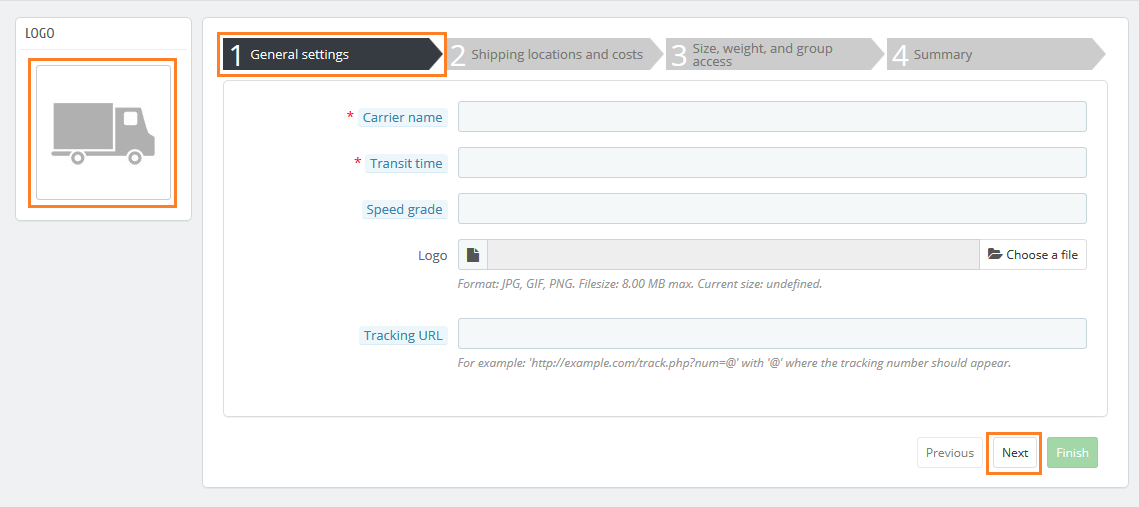
- Carrier name: Enter the carrier’s name.
- Transit time: Enter the estimated time for delivery.
- Speed grade: From 0 (for very slow) to 9 (for very fast).
- Logo: Upload logo for the carrier
- Tracking URL: Enter the tracking URL if available.
Click the Next button.
Step 4:
Fill up the information in the Shipping locations and costs panel.
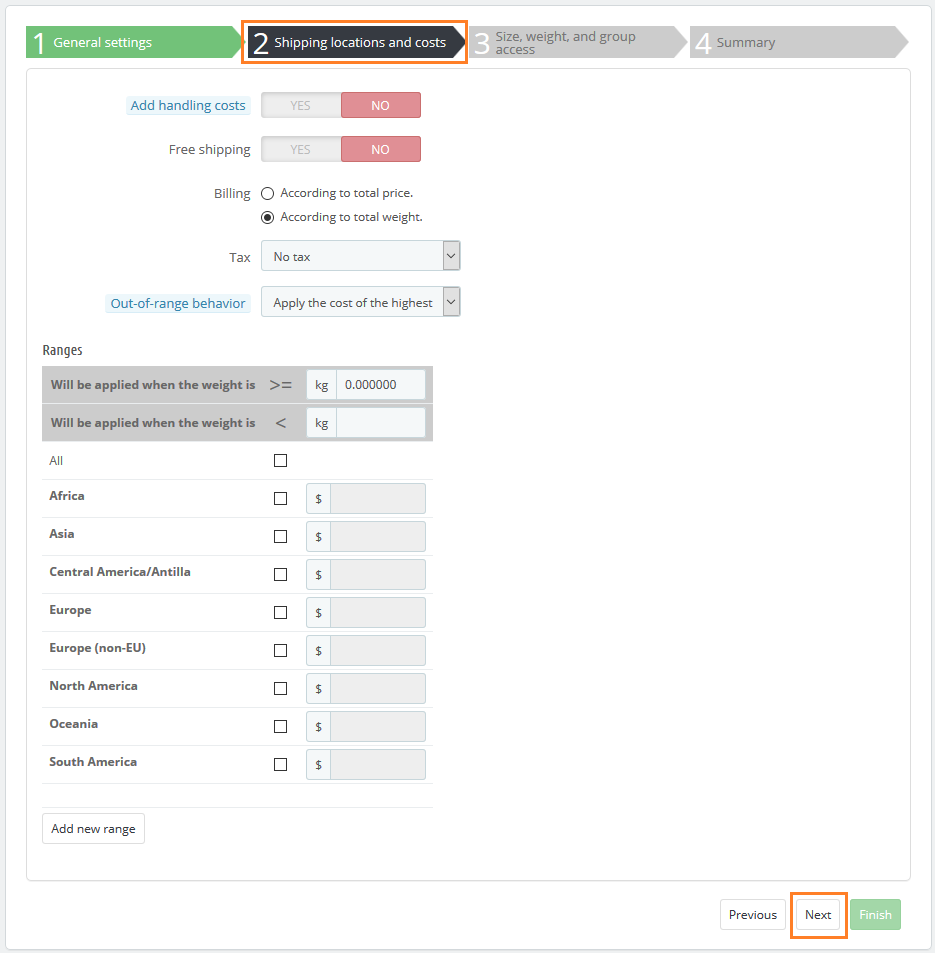
Click the Next button.
Step 5:
Fill up the information in the Size, weight and group access panel.
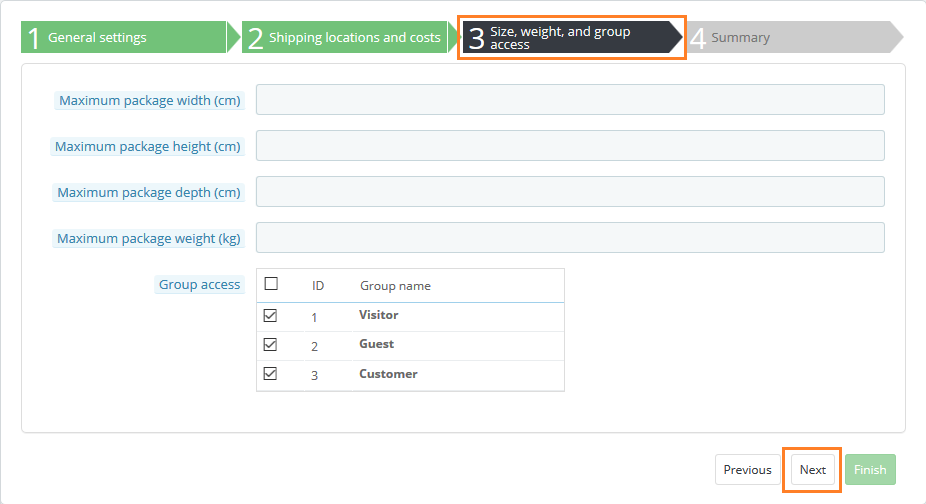
Click the Next button.
Step 6:
Review an overview of your settings for this carrier in the Summary panel.
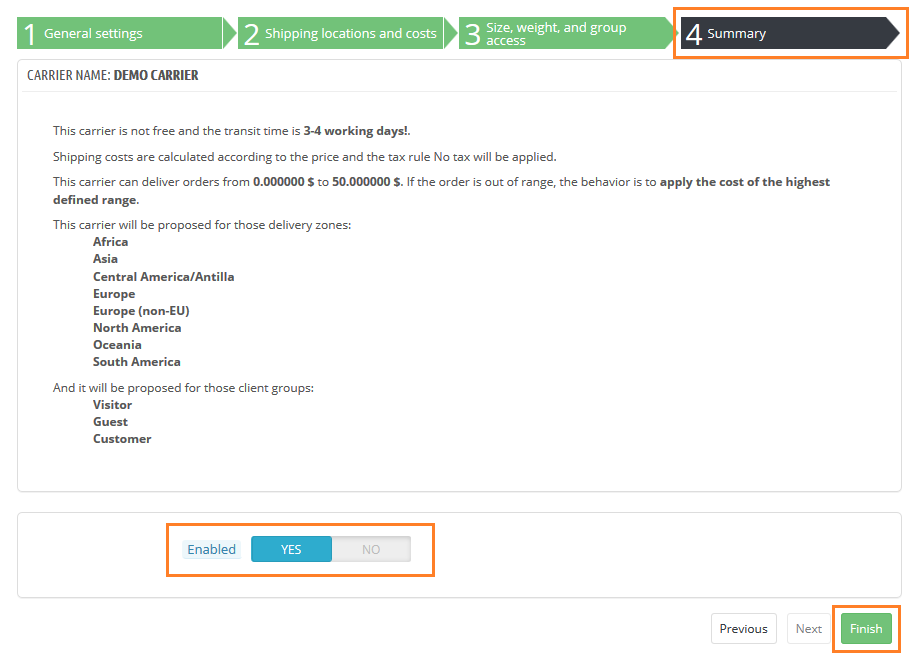
Click the Finish button.
That’s it! Your new carrier is added now! Check out Best PrestaShop Tutorials here!


Write an article about ecommerce that help people to grow their ecommerce business. You’ll find best ecommerce guide, news, tips & more!

Leave a Reply