
In this article, we’ll show you, how to add a new customer group in PrestaShop. Follow this simple guideline as shown below.
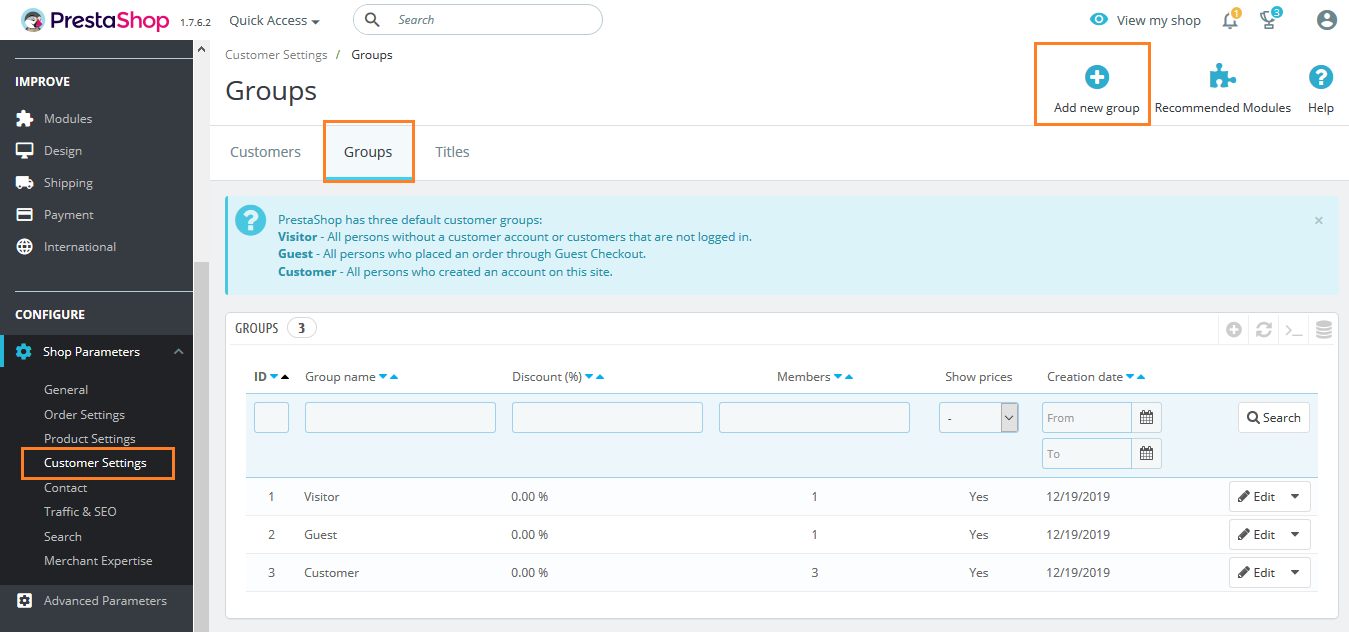
Step 1: To add a new customer group, Login into PrestaShop Back-Office and navigate to Shop Parameters > Customer Settings > Groups tab.
Step 2: Click the Add new group button.
Step 3: Fill out all the information to create a new group.
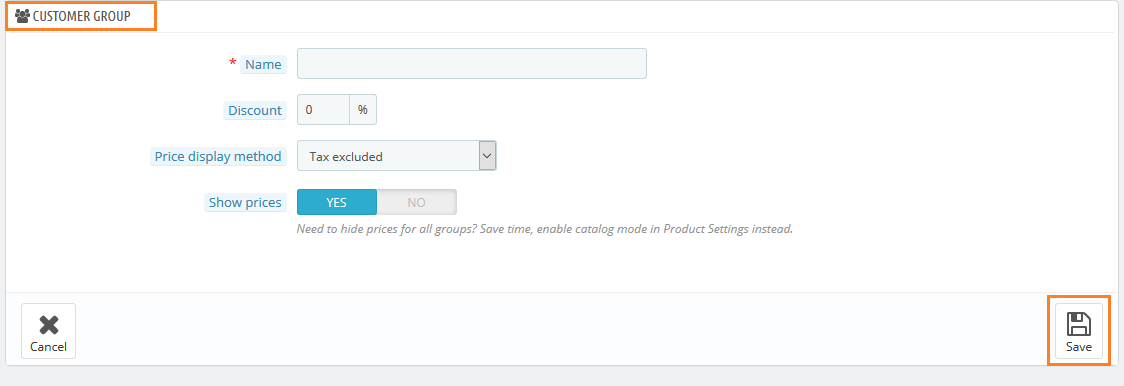
- Name: Enter a short and descriptive name.
- Discount (%): Enter the discount you want to apply for the members of this group in your shop.
- Price display method: The dropdown list gives you a choice between “tax included” and “tax excluded”.
- Show prices: You can set to not have access to your product prices.
Step 4: Click the Save button to save the group. Done!


Write an article about ecommerce that help people to grow their ecommerce business. You’ll find best ecommerce guide, news, tips & more!

Leave a Reply